Top Ad 728x90

Wednesday, May 13, 2026

Sprinkle brown gravy mix over

by


This slow cooker 5-ingredient Salisbury steak is my default dinner when I stare into the fridge and have zero inspiration. It’s a total Midwest comfort classic, just simplified for real life. You literally layer raw beef patties in the slow cooker, sprinkle brown gravy mix over the top, add three pantry and fridge staples, and walk away. By the time you’re home from work, you’ve got tender patties in a rich, savory gravy that tastes like you fussed way more than you did.
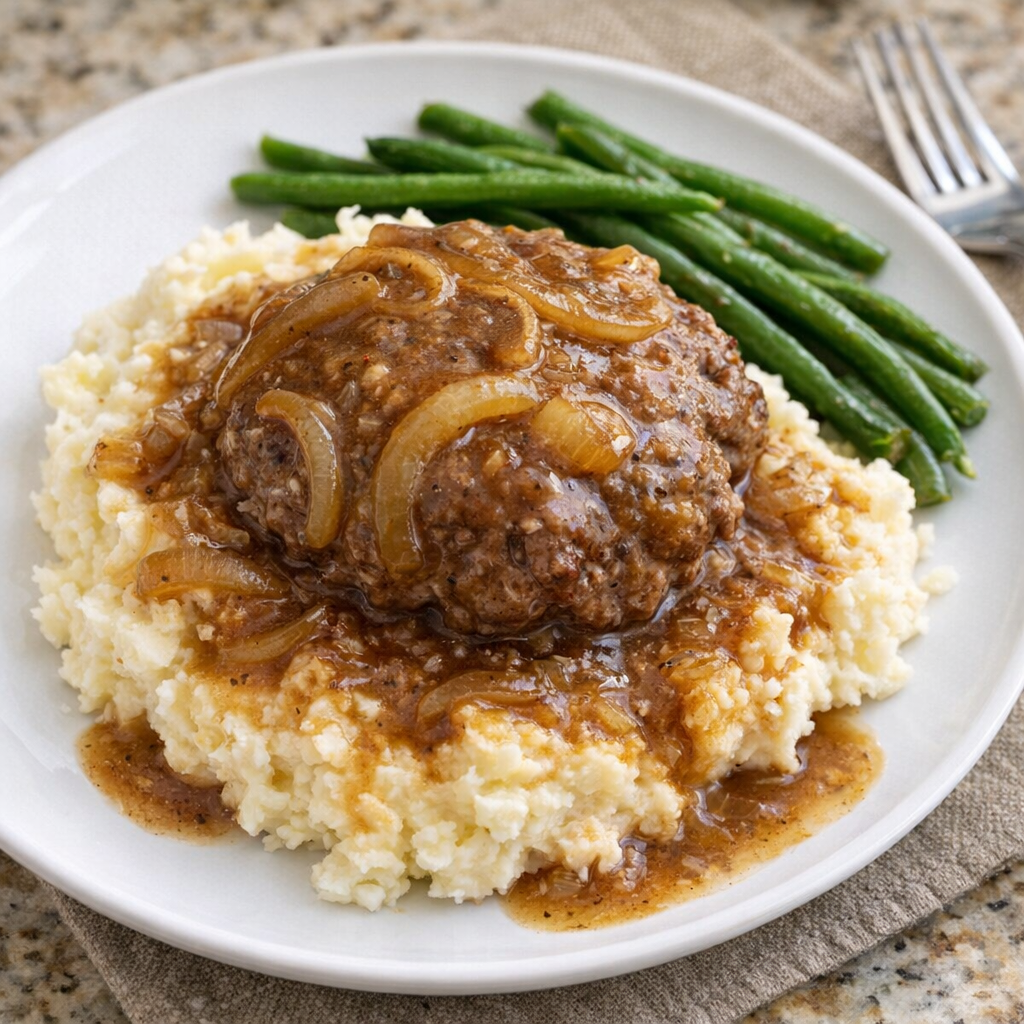
Slow cooker Salisbury steak served over mashed potatoes

I usually serve this over fluffy mashed potatoes so they can soak up every bit of the gravy, with a simple veggie on the side like steamed green beans or frozen mixed vegetables. Egg noodles or white rice also work really well if that’s what you have on hand. If you want to stretch the meal, add a side salad or some buttered dinner rolls to mop up the sauce.

Slow Cooker 5-Ingredient Salisbury Steak

Servings: 4


Ingredients
1 1/2 pounds ground beef (80–90% lean), shaped into 4–6 patties
2 packets (0.87–1 ounce each) brown gravy mix
1 medium yellow onion, thinly sliced
1 can (10.5 ounces) condensed cream of mushroom soup
1 cup beef broth or water
Directions

Lightly grease the inside of your slow cooker with cooking spray or a little oil to help prevent sticking.
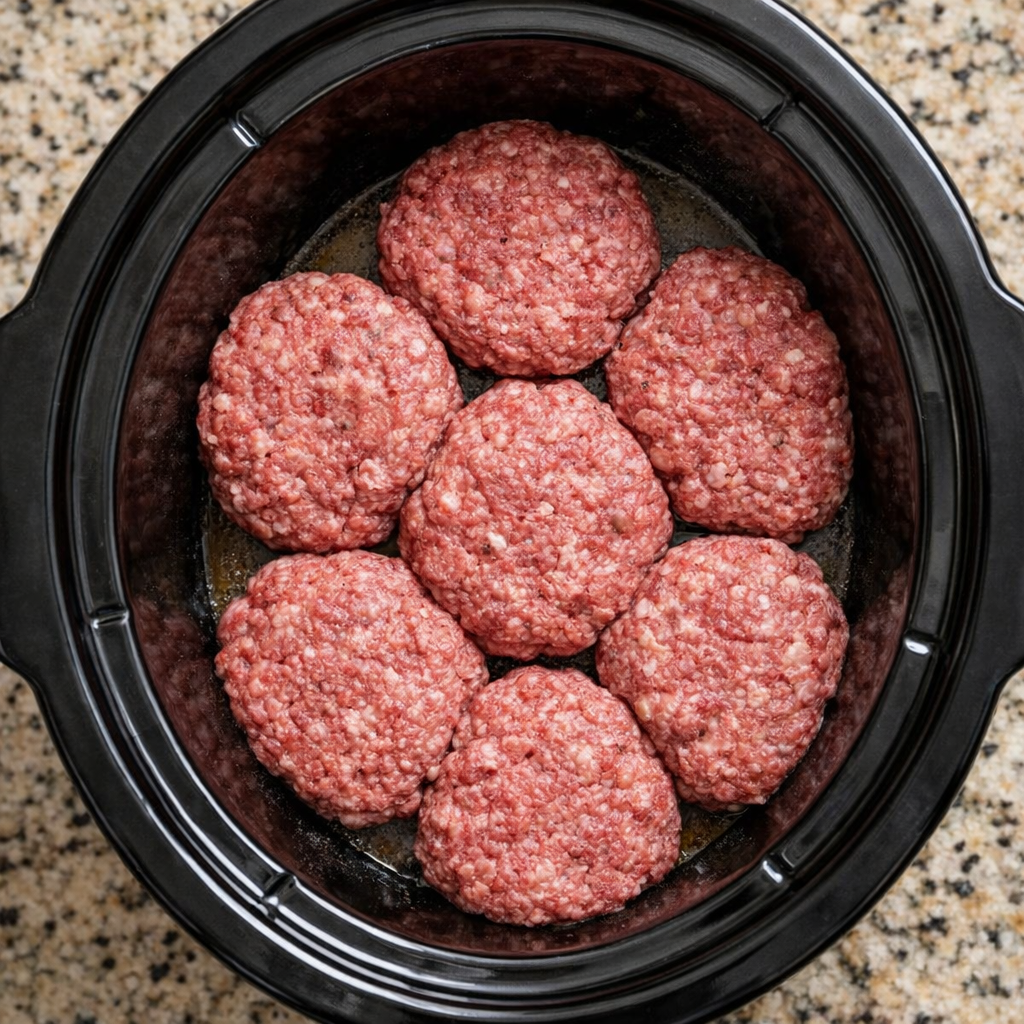
Ground beef patties arranged in a slow cooker

Shape the ground beef into 4–6 even patties, about 1/2 to 3/4 inch thick. Place the raw beef patties in a single layer (or slightly overlapping) on the bottom of the slow cooker.

Scatter the sliced onion evenly over and around the raw beef patties in the slow cooker.
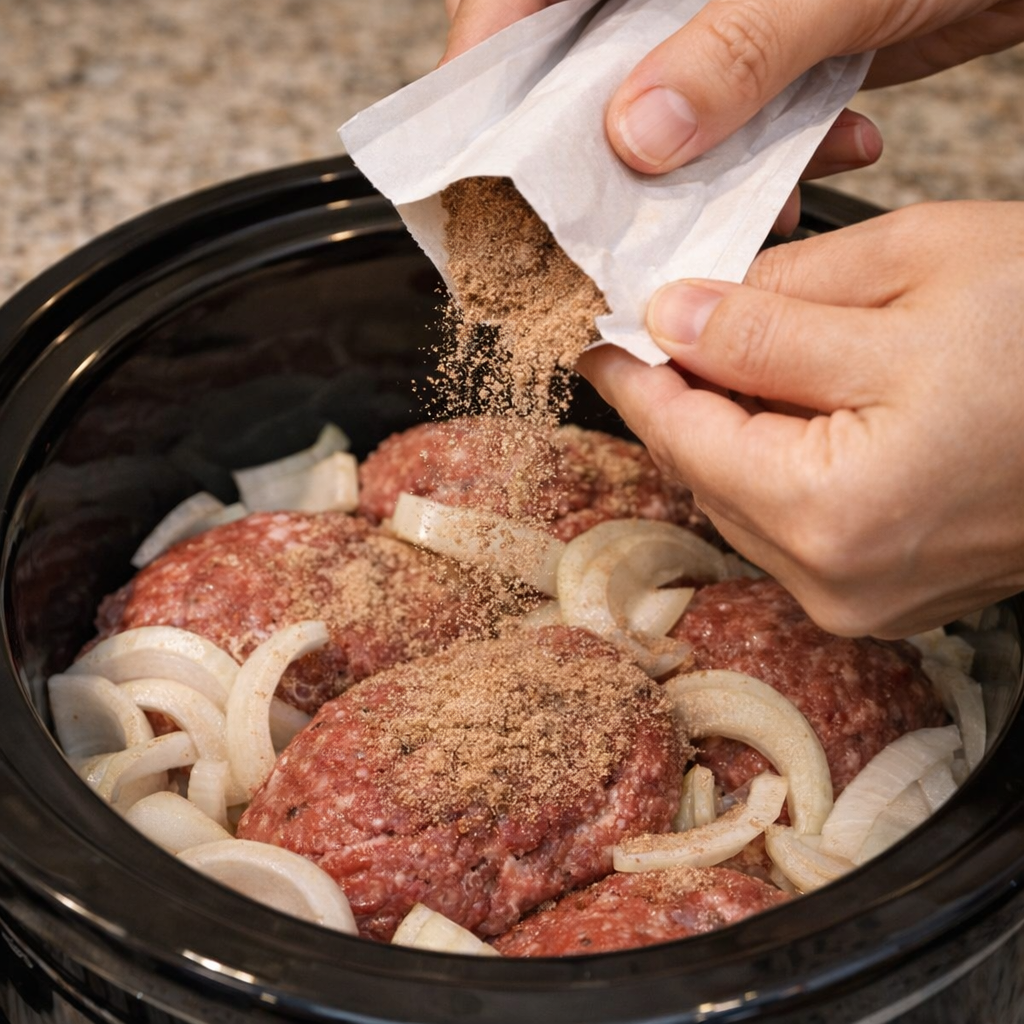
Brown gravy mix sprinkled over beef patties and onions

Sprinkle the brown gravy mix packets evenly over the top of the raw beef patties and onions.

In a small bowl, whisk together the condensed cream of mushroom soup and the beef broth (or water) until mostly smooth. Pour this mixture gently over the patties and onions in the slow cooker, trying to cover as much as possible without disturbing the gravy mix too much.
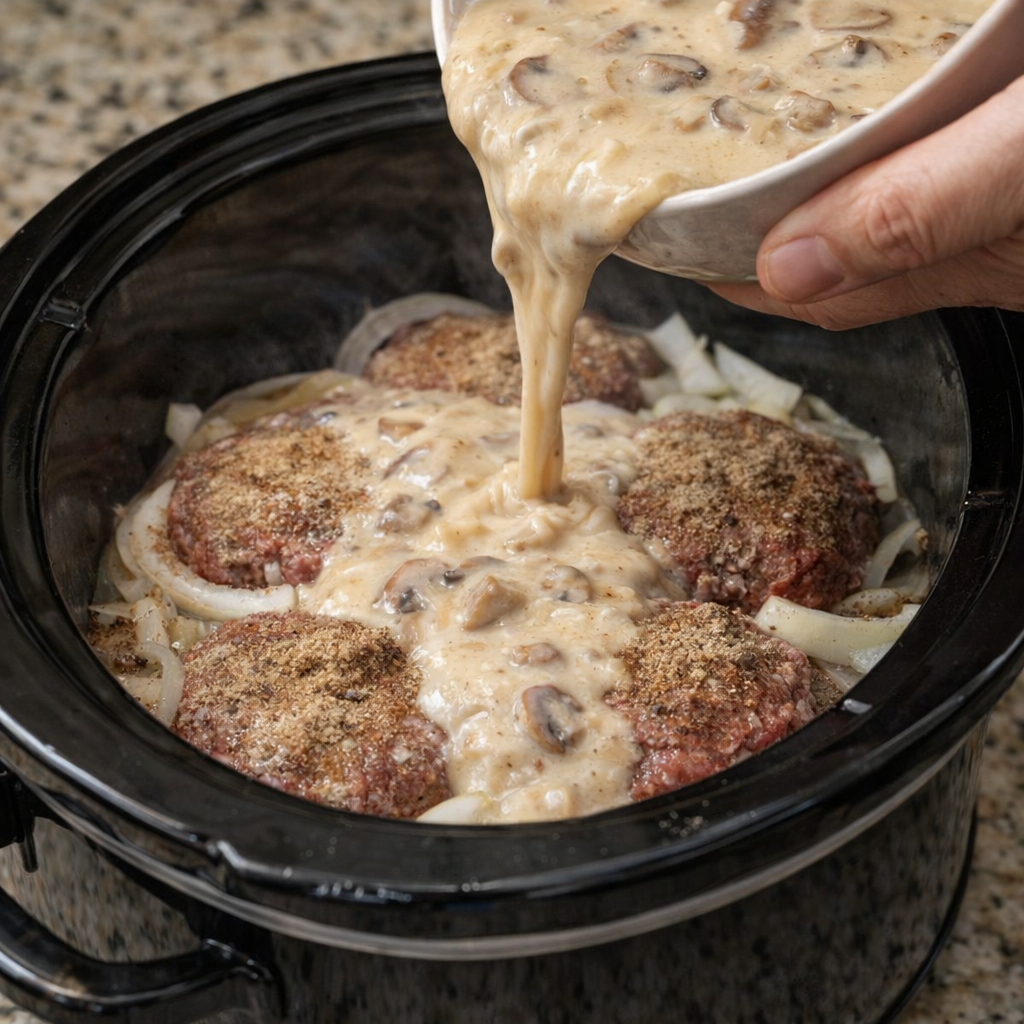
Creamy mushroom mixture being poured into the slow cooker

Cover and cook on Low for 5–6 hours or on High for 2 1/2–3 hours, until the beef patties are cooked through and very tender and the gravy is bubbling and slightly thickened.

Taste the gravy and adjust seasoning if needed with a little salt and black pepper. If you want the gravy thicker, remove the lid for the last 20–30 minutes of cooking or stir in a cornstarch slurry (1 tablespoon cornstarch mixed with 1 tablespoon cold water) and cook on High for about 10–15 minutes more.
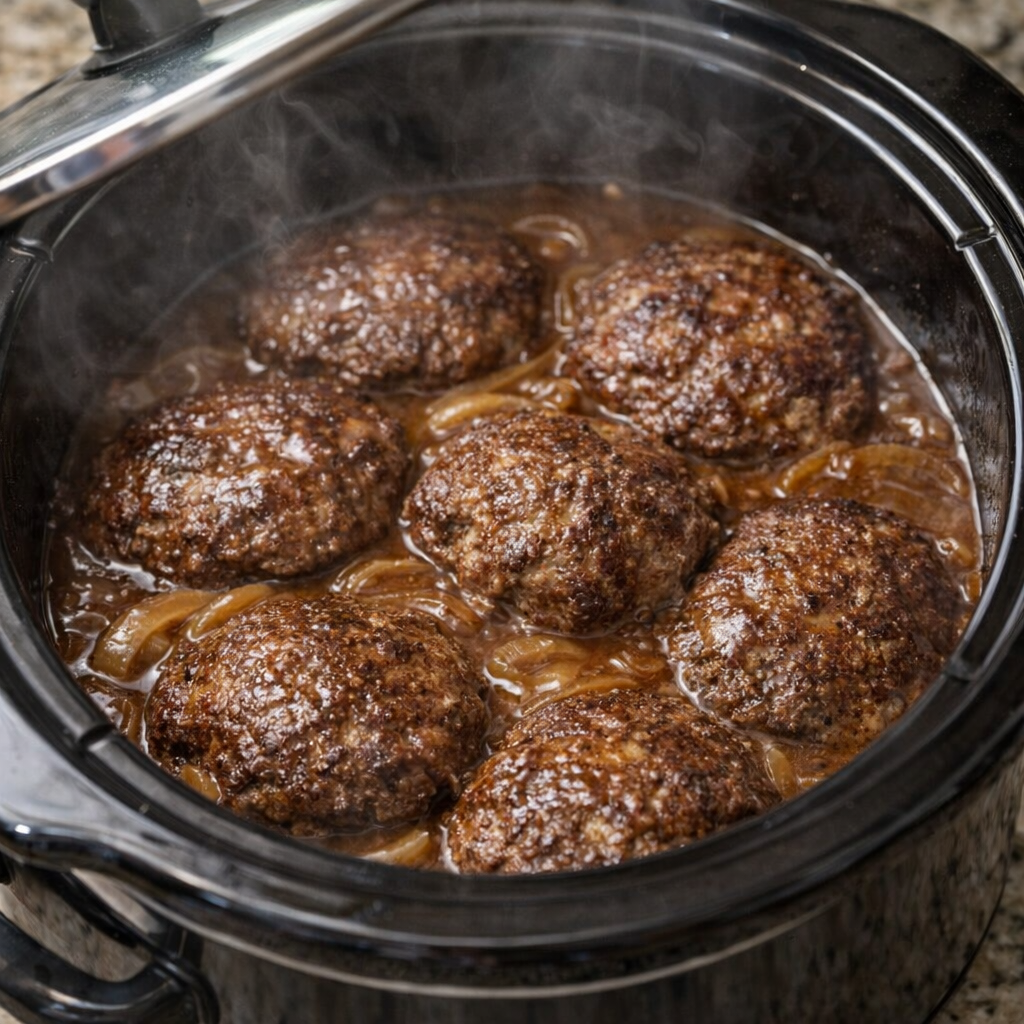
Cooked Salisbury steak in the slow cooker with rich onion gravy

Serve the Salisbury steak patties hot, spooning plenty of the slow-cooked onion gravy over the top. Pair with mashed potatoes, rice, or noodles for a hearty, no-stress dinner.

Variations & Tips

If you like a bit more flavor in the patties themselves, season the ground beef with salt, pepper, garlic powder, and a splash of Worcestershire sauce before shaping. You can also brown the patties in a skillet for 2–3 minutes per side before adding them to the slow cooker for a deeper, more traditional Salisbury steak flavor, though I usually skip this step on busy nights.
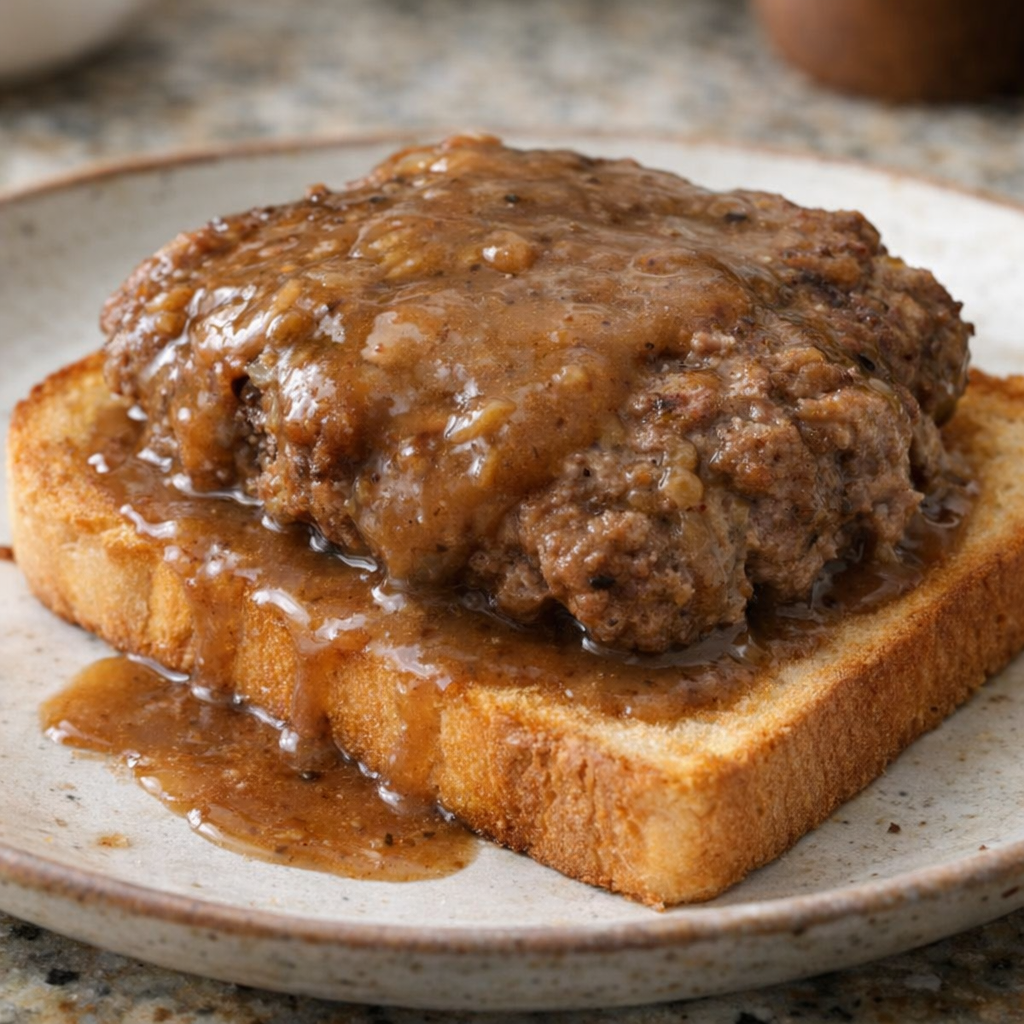
Leftover Salisbury steak served open-faced on toast

For extra veggies, add sliced mushrooms or a handful of baby carrots on top of the onions before sprinkling the gravy mix. If you don’t have cream of mushroom soup, cream of chicken or cream of celery will still give you a rich gravy, just with a slightly different flavor. To make it a bit lighter, use leaner ground beef or ground turkey and low-sodium gravy mix and broth. Leftovers reheat well and can be turned into an open-faced sandwich the next day by serving a patty and gravy over toast or a split dinner roll.

My sister begs me to fry these

by


Fried green tomatoes are a Southern classic that make perfect sense the moment those first firm, tart tomatoes show up in late spring. This version keeps faith with the tradition but strips it down to just four essential ingredients: green tomatoes, buttermilk, seasoned cornmeal, and oil. The result is a shatteringly crisp, golden crust wrapped around a bright, tangy slice of tomato—the kind of snack my sister starts asking for as soon as she sees green tomatoes at the market.

With no extra fuss, you get that iconic Southern crunch and flavor, ideal for home cooks who want maximum payoff from minimal effort.

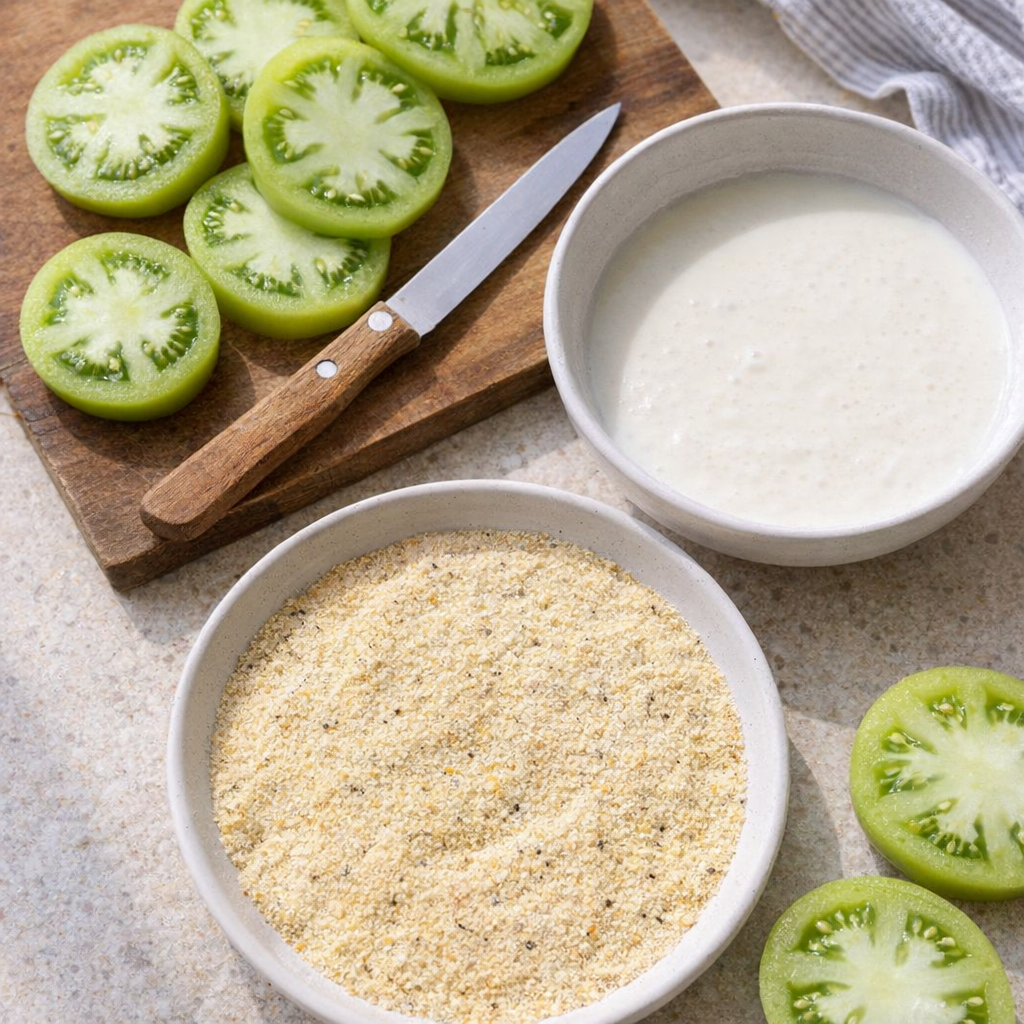
Fresh green tomatoes and cornmeal arranged for frying

Serve these fried green tomatoes hot, straight from the paper towel–lined plate while they’re still audibly crisp. I like them as a starter alongside other simple Southern-leaning bites—think boiled peanuts, deviled eggs, or a light salad with a tangy vinaigrette to echo the tomato’s brightness.

They’re also wonderful tucked into a BLT in place of the usual ripe tomato, or stacked on a burger for a crunchy, tart contrast. If you’d like a dip without adding ingredients to the recipe itself, use what you have on hand: ranch, remoulade, or even plain mayonnaise with a squeeze of lemon all work beautifully.

Southern 4-Ingredient Fried Green Tomatoes

Servings: 4


Ingredients

4 medium firm green tomatoes, sliced 1/4-inch thick

1 cup buttermilk
1 cup seasoned cornmeal (self-rising or pre-seasoned)
1 cup neutral frying oil (such as vegetable or canola), plus more as needed

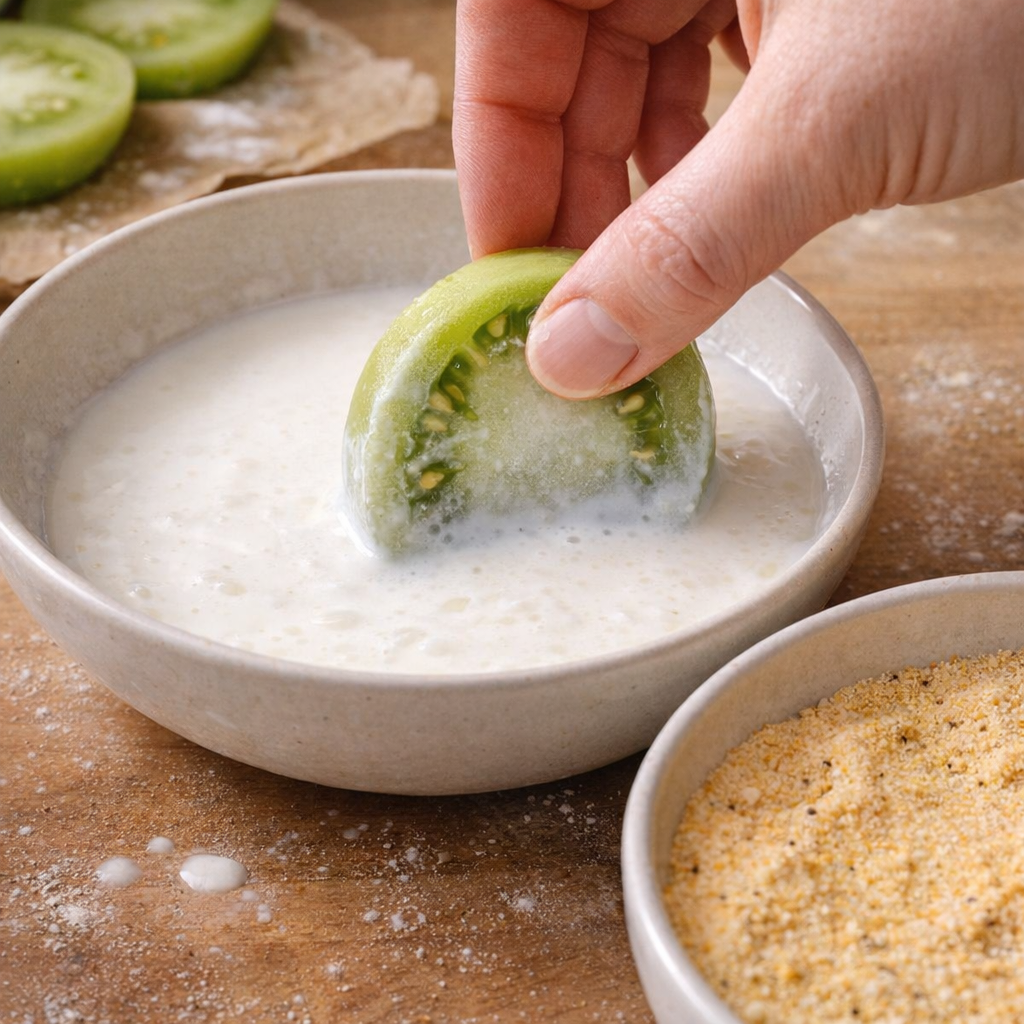
Tomato slices dipped in buttermilk before coating

Directions

Slice the green tomatoes into 1/4-inch-thick rounds. Discard the stem ends and lay the slices on a tray or cutting board. Pat them dry lightly with a paper towel so the coating adheres well.

Pour the buttermilk into a shallow bowl. In a separate shallow dish, add the seasoned cornmeal and spread it out in an even layer.

Working with a few tomato slices at a time, dip each slice into the buttermilk, turning to coat both sides and letting any excess drip back into the bowl.

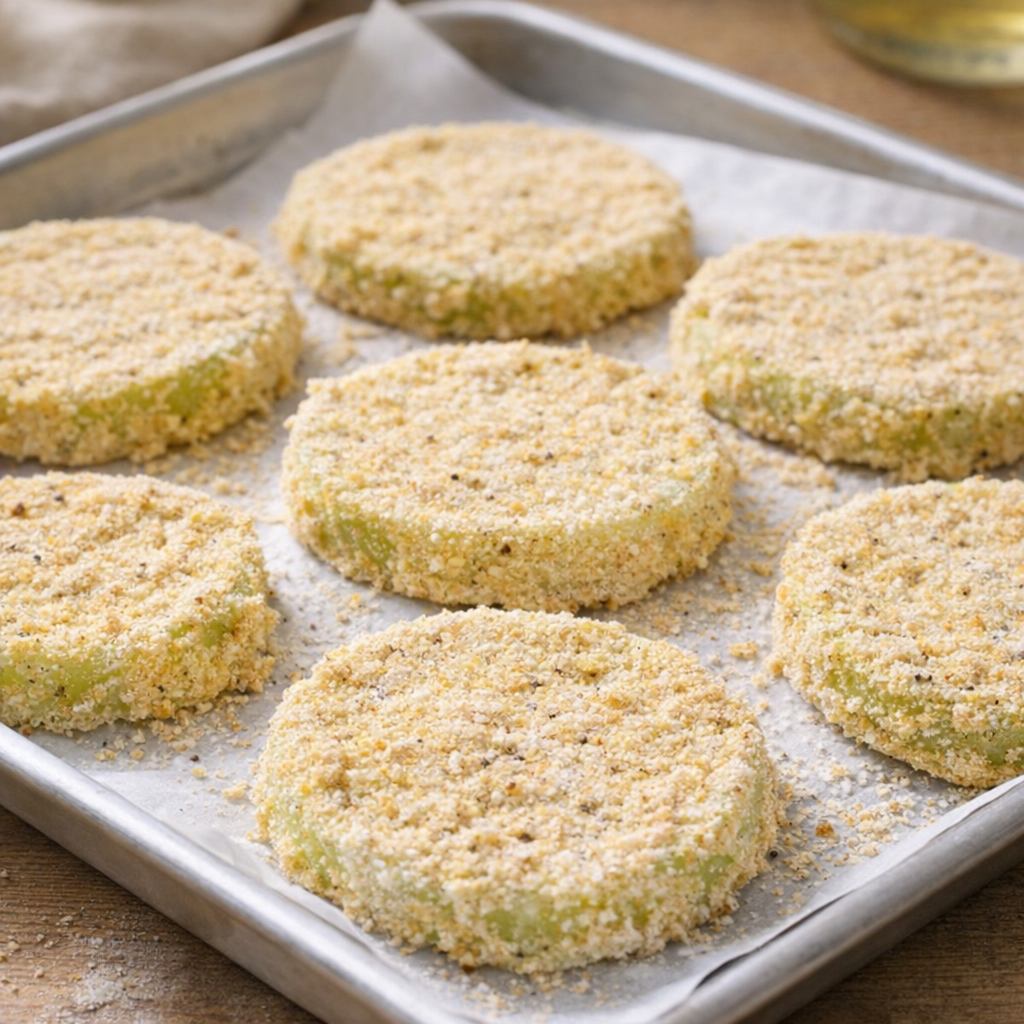
Transfer the buttermilk-coated slices to the cornmeal. Press gently on each side so the cornmeal clings in a thin, even layer. Set the coated slices on a plate or baking sheet while you finish the rest; this brief rest helps the crust stick and crisp.

Cornmeal-coated green tomato slices ready to fry

In a large, heavy skillet (cast iron is ideal), pour in the oil to a depth of about 1/4 inch. Heat over medium to medium-high heat until the oil shimmers and a pinch of cornmeal sizzles on contact, about 350°F if you’re checking with a thermometer.

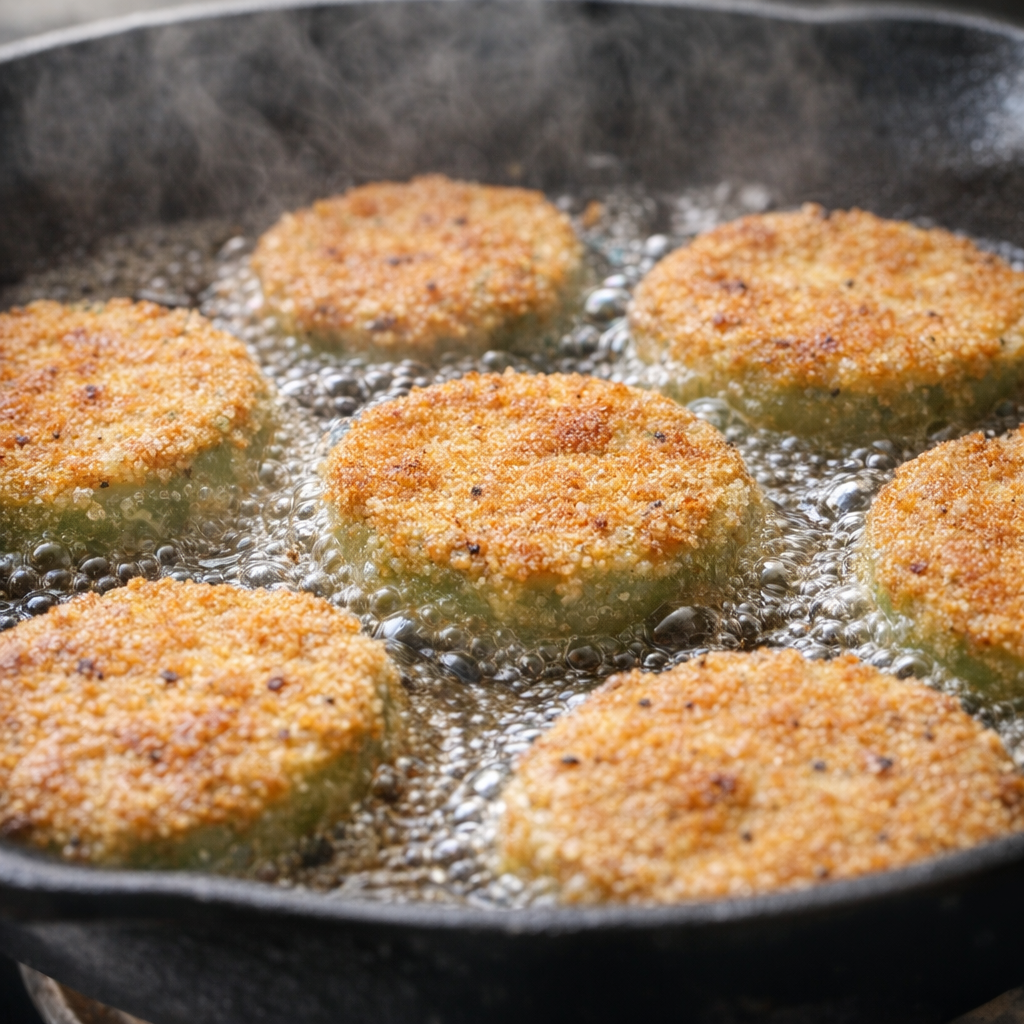
Carefully lay a single layer of coated tomato slices into the hot oil without crowding the pan. Fry for 2 to 3 minutes per side, or until the crust is deep golden brown and crisp and the tomato inside has just begun to soften.

Use tongs or a slotted spatula to transfer the fried green tomatoes to a paper towel–lined white plate to drain, keeping them in a single layer so the crust stays crunchy. Repeat with remaining slices, adding a bit more oil and reheating it between batches if needed.

Fried green tomatoes crisping in a cast-iron skillet

Serve the fried green tomatoes immediately while they’re hot and at their crispiest, passing any favorite dipping sauces at the table if you like.

Variations & Tips

Because this recipe is intentionally pared down to four ingredients, the variations are more about technique than adding new items to the list. For extra crunch, double-dip: after the initial buttermilk and cornmeal coating, return slices briefly to the buttermilk and then back into the cornmeal before frying, shaking off excess each time.

If your cornmeal isn’t pre-seasoned, you can still keep the four-ingredient spirit by choosing a self-rising, seasoned blend from the store; it typically contains salt and leavening that help with texture and flavor. To manage browning, adjust your heat as you go—if the crust darkens too quickly, lower the heat slightly so the tomato has time to soften inside without burning the outside.

For a slightly lighter texture, use medium- or fine-grind cornmeal; for a more rustic, assertive crunch, choose a coarse grind. Leftover fried green tomatoes can be reheated in a hot oven or toaster oven to revive the crust, and they’re excellent the next day layered into sandwiches or served on top of a simple bed of greens for a warm salad

Lent Favorite Just 3 ingredients

by


When my kids were little and Lent rolled around, my sister and I used to trade tricks for getting supper on the table fast without feeling like we were “making do.” These 3-ingredient salmon patties are one of those hand-me-down treasures from my Aunt Ruth. She’d fry up a big skillet-full on Friday nights, and the whole house would smell like comfort. They’re low carb without trying to be fancy: just canned salmon, eggs, and crushed pork rinds for that wonderfully crisp, old-fashioned crust.

Everything stirs together in one bowl and fries up in minutes, perfect for those weeknights when the clock is louder than your appetite.

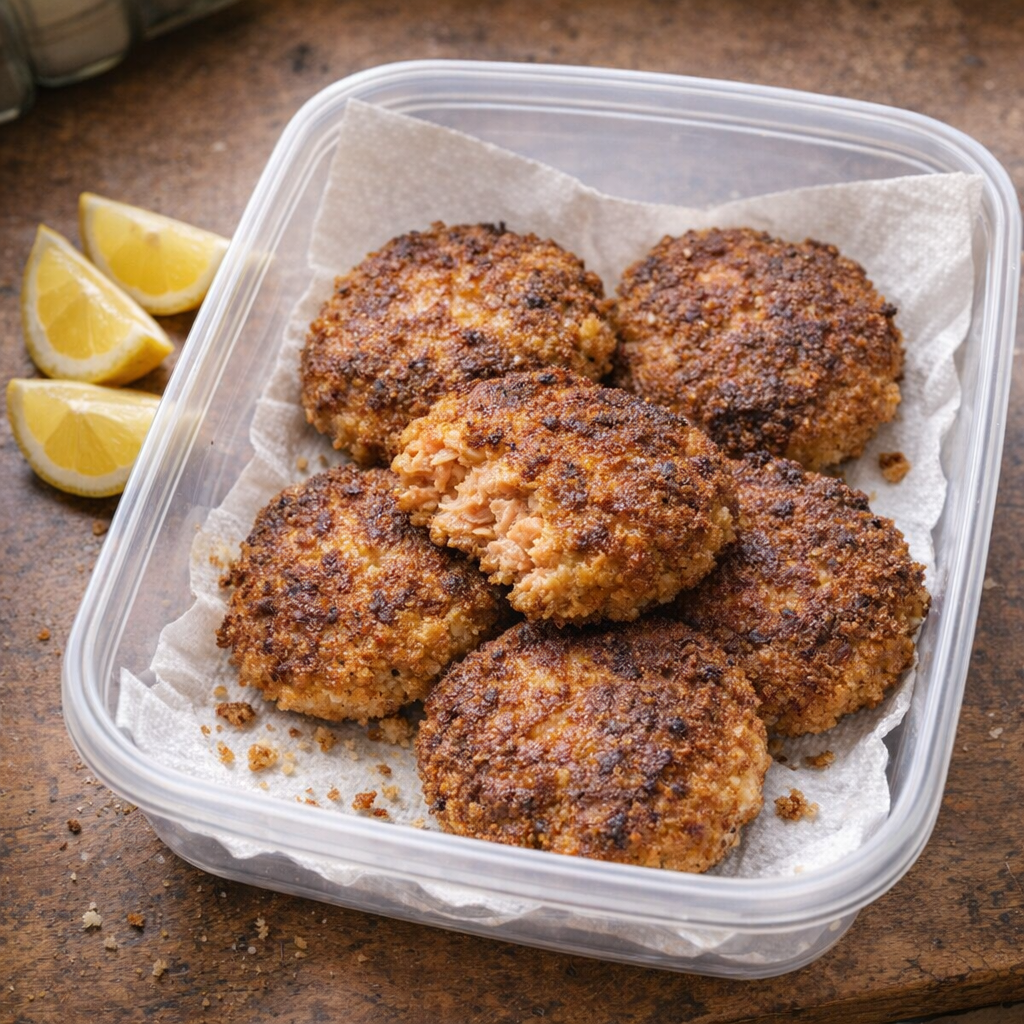
Salmon patties cooling on a paper towel-lined container

I like to tuck these warm salmon patties into a plastic container and let them rest on a paper towel while I finish the rest of supper. They’re lovely with a simple side of coleslaw, sliced cucumbers and onions in vinegar, or a pan of roasted green beans.

If you’re keeping things low carb, skip the bun and serve them over a bed of lettuce with a spoonful of tartar sauce, lemon wedges, or a little dill mayo. They also make a nice make-ahead lunch; just chill the cooked patties in the same container and enjoy them cold or gently rewarmed in a dry skillet.

Low Carb 3-Ingredient Salmon Patties

Servings: 4


Ingredients

2 (14.75-ounce) cans salmon, drained and flaked (bones and skin removed if desired)

2 large eggs, lightly beaten
1 1/2 cups finely crushed plain pork rinds (about 1 (3-ounce) bag), divided

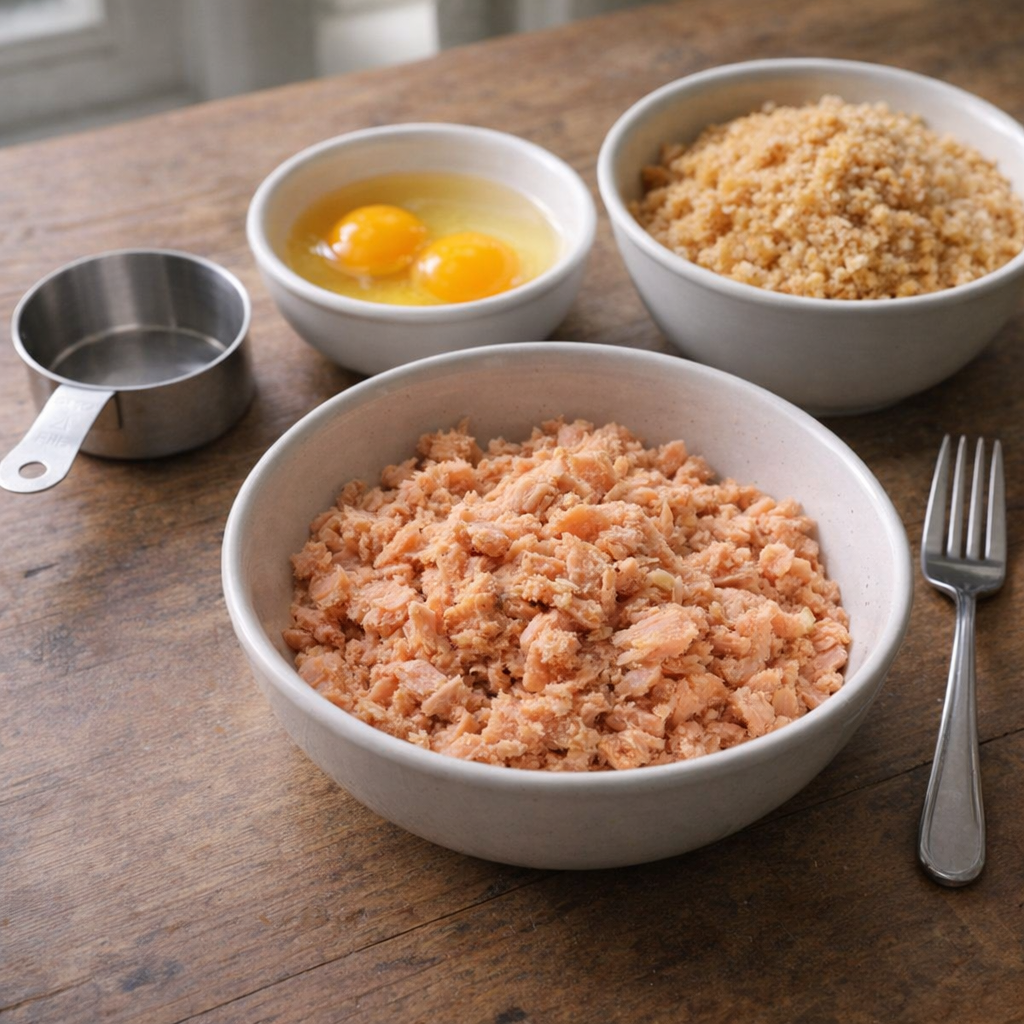
Simple ingredients for salmon patties in a mixing setup

Directions

Place the drained, flaked salmon in a medium mixing bowl. Pick out any large bones or bits of skin if you prefer a smoother patty, though the canned bones are soft and edible.

Sprinkle 1 cup of the finely crushed pork rinds over the salmon, reserving the remaining 1/2 cup for coating later.

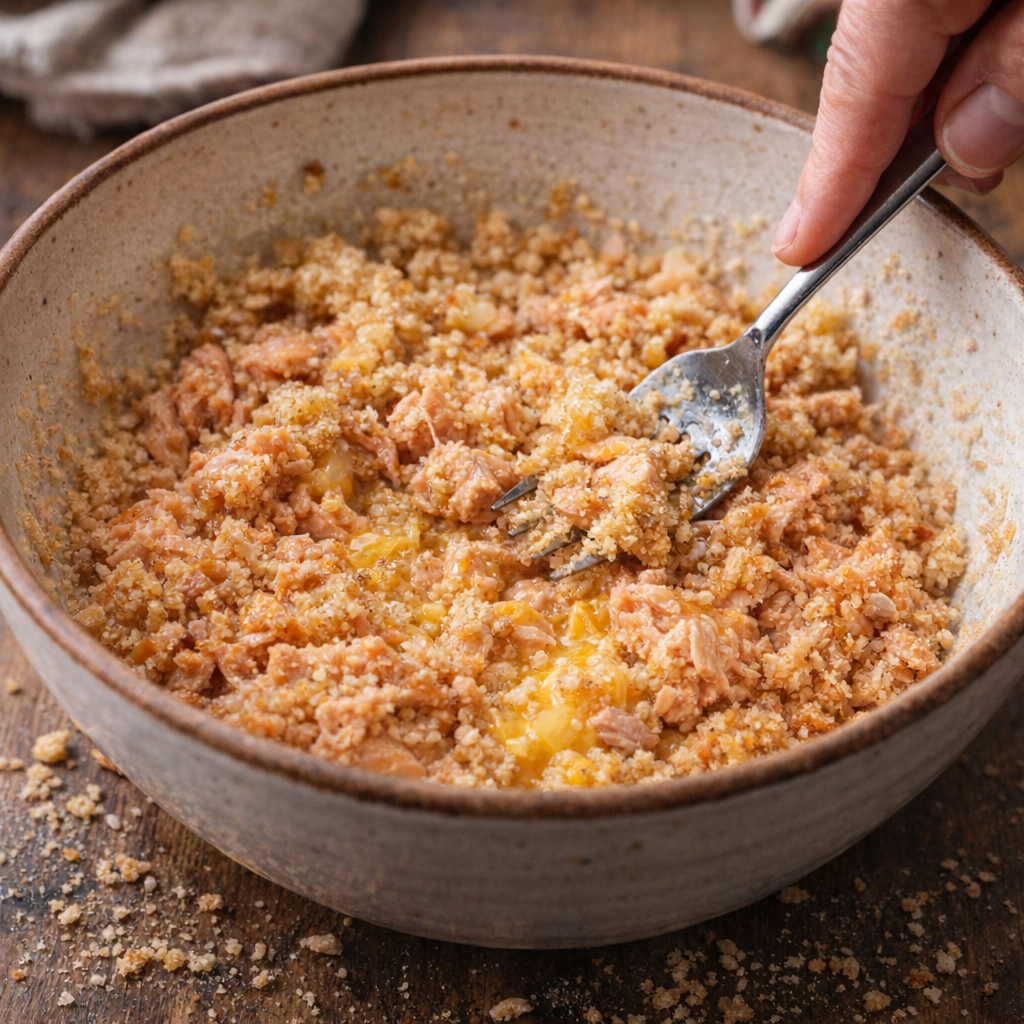
Pour the beaten eggs over the salmon and pork rinds. Using a fork or your hands, gently mix until everything is evenly combined and the mixture holds together when pressed. If it feels too wet, add a tablespoon or two more crushed pork rinds until it firms up.

Salmon patty mixture being combined in a bowl

Divide the mixture into 8 equal portions and shape each into a patty about 2 1/2 to 3 inches wide and 1/2 inch thick. Set the patties on a plate.

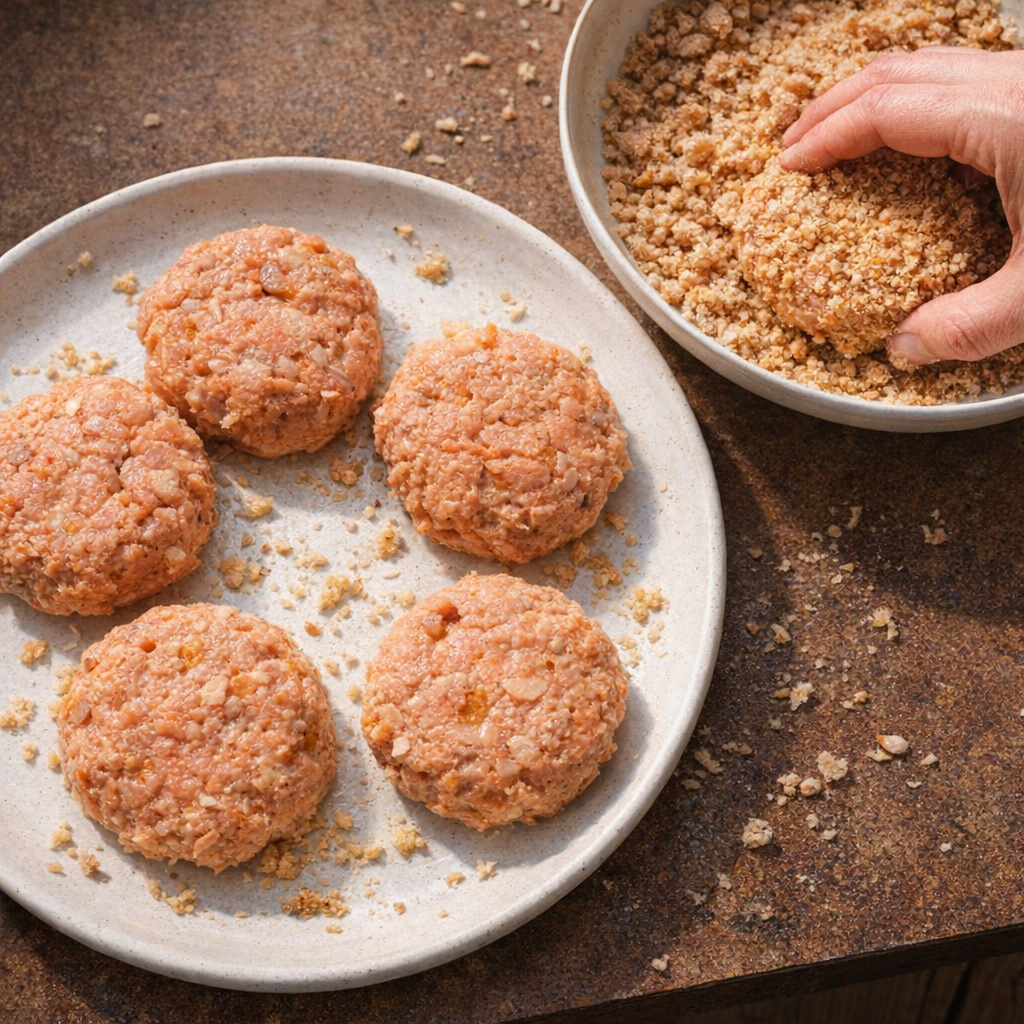
Spread the reserved 1/2 cup of crushed pork rinds in a shallow dish. One at a time, press each patty into the crumbs on both sides, patting gently so the crust sticks and forms a good, even coating.

Uncooked salmon patties being coated in crushed pork rinds

Set a large skillet over medium heat and add just enough oil to thinly coat the bottom (about 2 to 3 tablespoons). Let the oil heat until it shimmers.

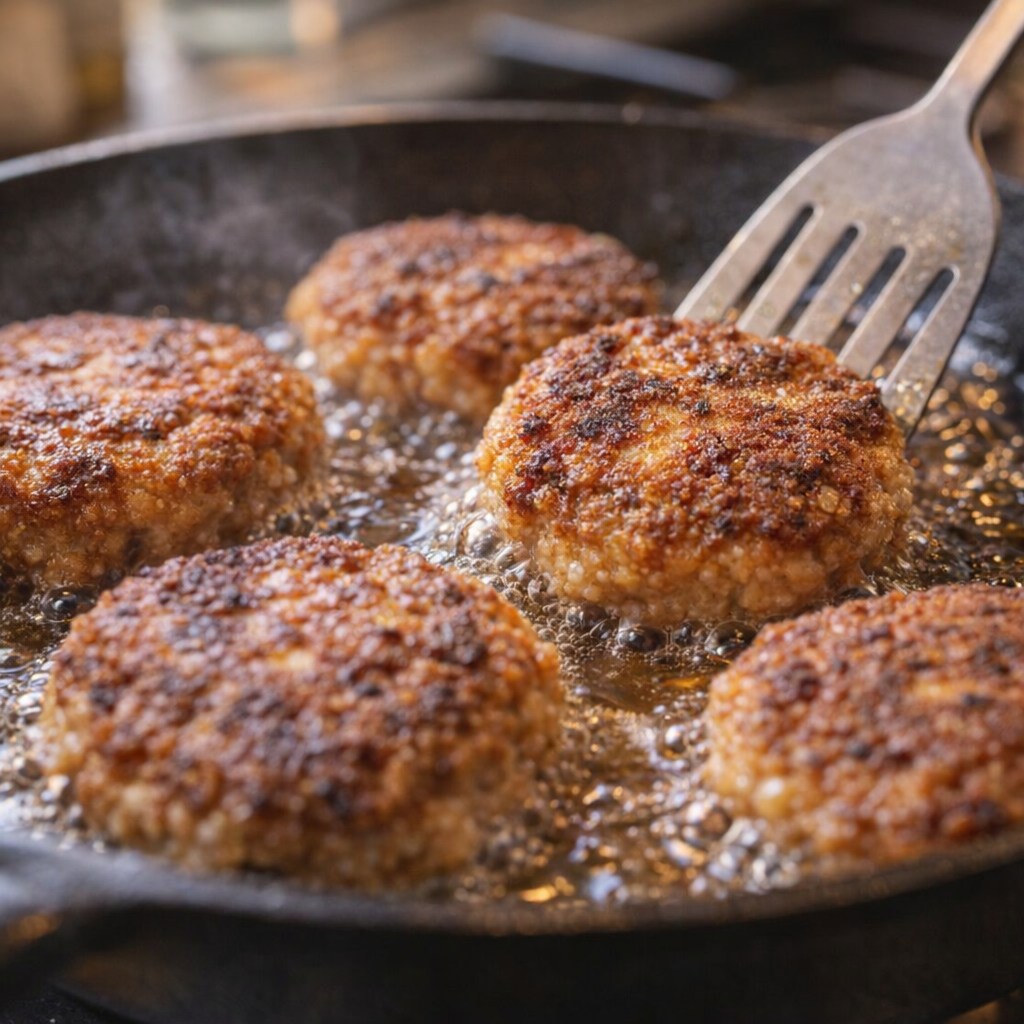
Lay the patties into the hot skillet in a single layer without crowding, working in batches if needed. Fry for 3 to 4 minutes on the first side, until the bottoms are deep golden brown and crisp.

Carefully flip each patty and cook another 3 to 4 minutes, or until the second side is golden and the centers are hot and cooked through. Add a little more oil between batches if the pan looks dry.

Salmon patties frying in a skillet

As the patties finish, transfer them to a plastic storage container lined with a paper towel. Let them rest with the lid slightly ajar for a few minutes so the steam can escape and the crust stays crisp.

Serve warm, or cool completely, snap the lid on the container, and refrigerate for up to 3 days for quick lunches or another easy Lent supper.

Variations & Tips

For a little extra flavor without adding more ingredients, you can choose seasoned pork rinds instead of plain; just be mindful of the salt, as some brands are quite salty.

If you prefer a softer interior, reduce the pork rind amount in the mixture by a couple of tablespoons and keep the full amount for the outside crust. To stretch the recipe for a bigger family, form smaller patties so you get 10 to 12 instead of 8 and fry them a minute less per side.

These patties reheat nicely in a dry skillet over low heat to re-crisp the crust, or in an air fryer at 350°F for a few minutes. If you like a stronger salmon flavor, use red sockeye; for a milder taste, choose pink salmon. You can also shape the mixture into tiny bite-size cakes for appetizers—just watch them closely, as they brown quickly.

Aunt Claire brings these 4

by


These 4-ingredient cheesecake bars are exactly the kind of thing my Aunt Claire would plunk down on the picnic table at every backyard cookout. She’d show up with a couple of foil trays, still warm, set them next to the burgers, and I swear they’d be gone before the first round of hot dogs even hit the grill. They’re buttery, a little puffy on top, with a creamy vanilla center that tastes like cheesecake without any of the fuss. No water baths, no fancy crusts—just crescent dough, cream cheese, sugar, and vanilla. It’s the kind of recipe you can throw together after work and bring to a potluck without stressing, which is exactly why it’s on repeat in my busy weeknight rotation.

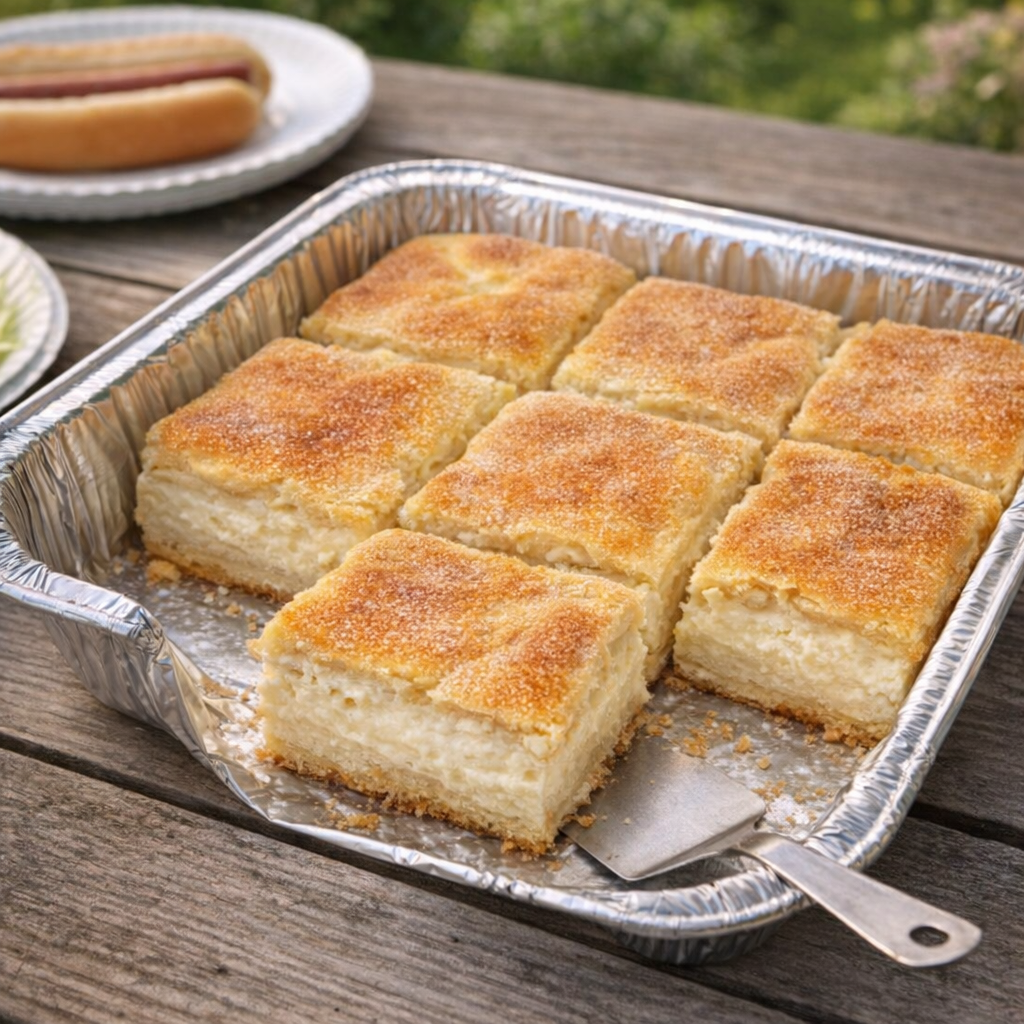
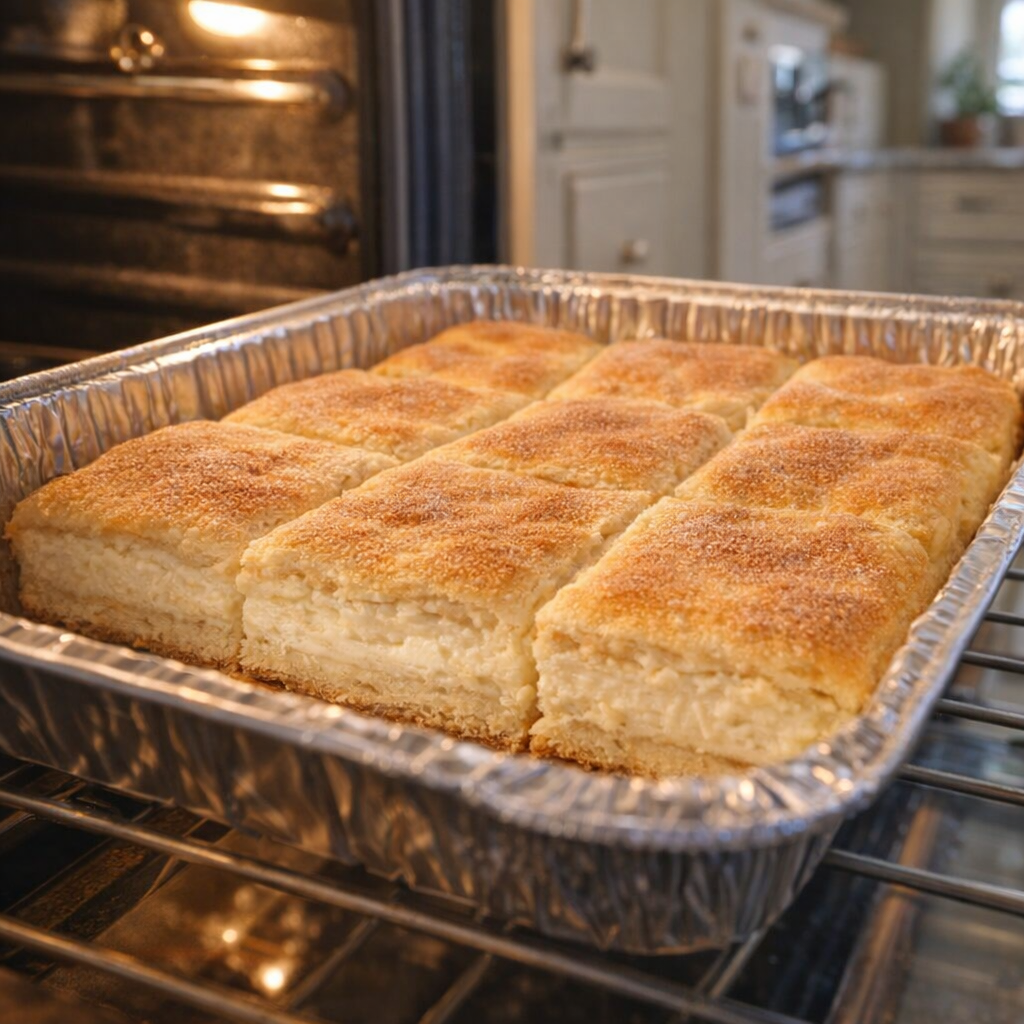
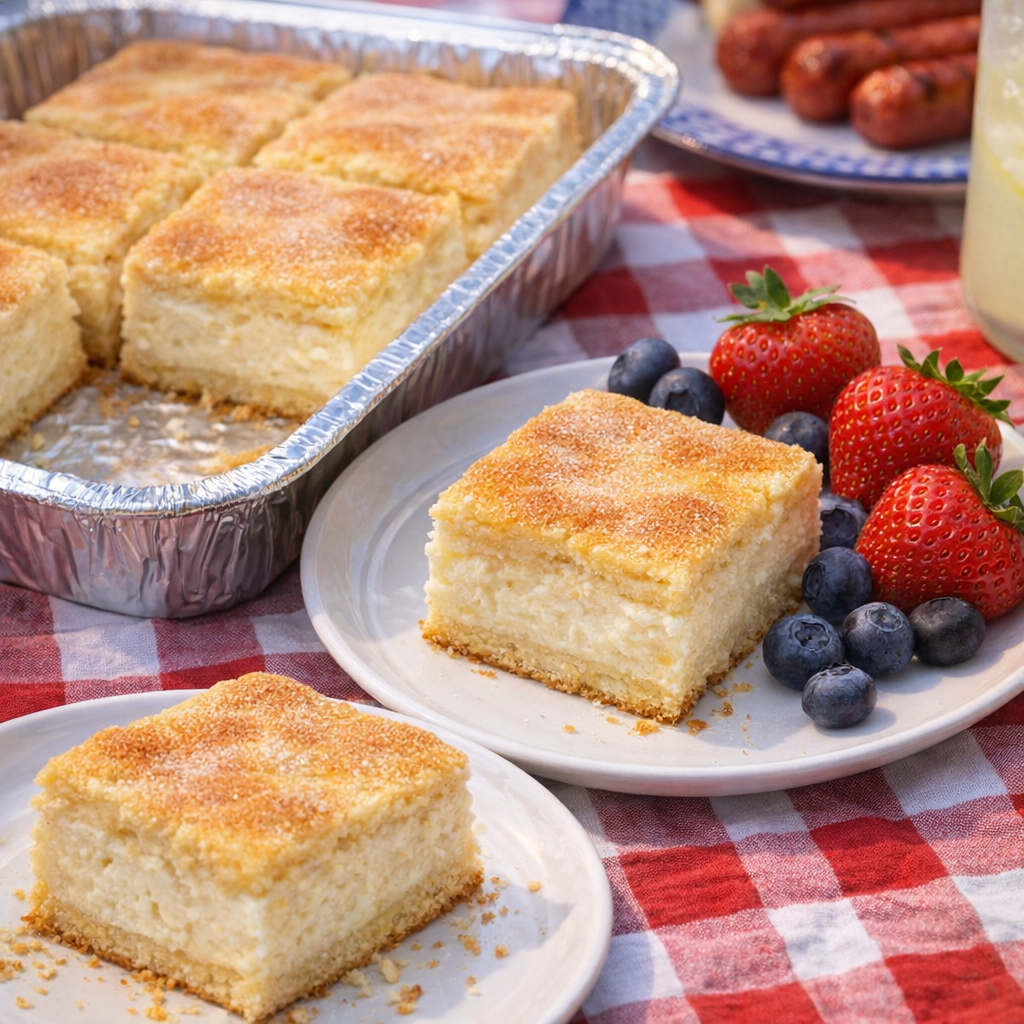
Freshly baked cheesecake bars in a foil tray on a picnic table

Serve these cheesecake bars slightly warm or at room temperature, cut into small squares so they’re easy to grab between bites of burgers and potato salad. They pair really well with fresh berries or a simple fruit salad on the side to cut through the sweetness. For cookouts, I like to leave them right in the foil tray on the counter or picnic table with a small spatula so people can help themselves.

A cup of coffee, iced or hot, is perfect with these if you’re serving them after dinner, and they also make a fun brunch treat next to scrambled eggs and bacon when you want something sweet without a lot of effort.

4-Ingredient Crescent Cheesecake Bars

Servings: 16


Ingredients

2 (8-ounce) packages cream cheese, softened

3/4 cup granulated sugar
2 teaspoons vanilla extract
2 (8-ounce) cans refrigerated crescent roll dough

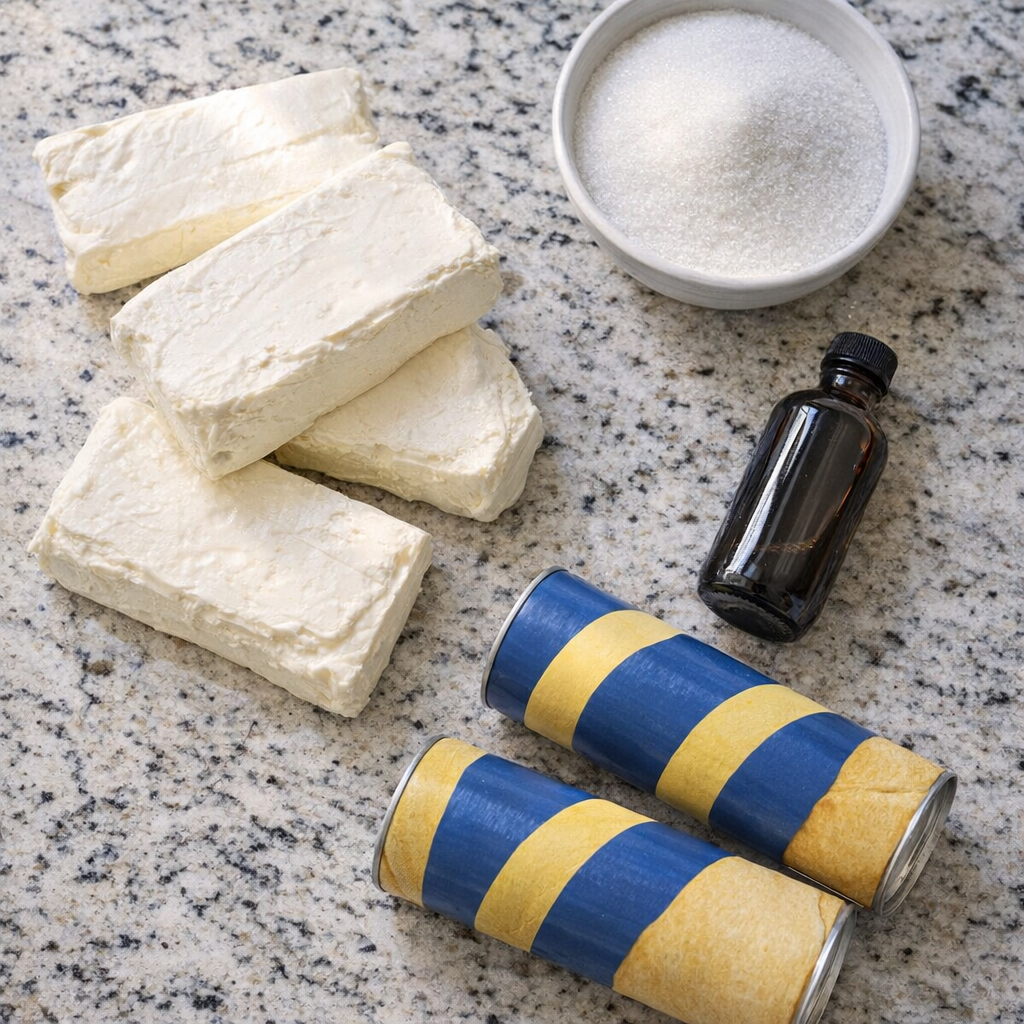
Simple cheesecake bar ingredients laid out on a kitchen counter

Directions

Preheat your oven to 350°F (175°C). Line a 9x13-inch foil tray or baking pan with a sheet of aluminum foil or parchment for easy cleanup, lightly greasing the bottom and sides.

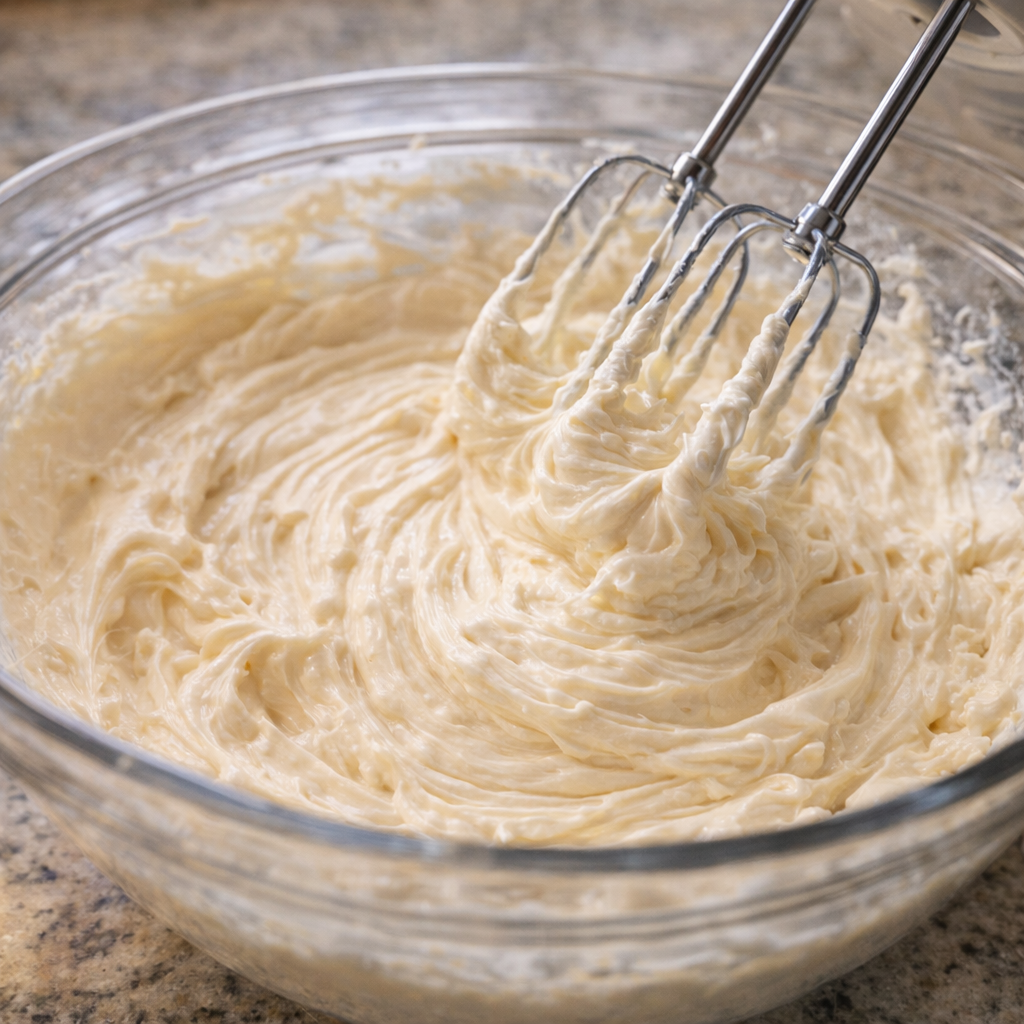
In a medium mixing bowl, use a hand mixer or sturdy whisk to beat the softened cream cheese until smooth and creamy, about 1 minute. Add the granulated sugar and vanilla extract, and beat again until the mixture is silky and well combined with no lumps.

Cream cheese filling being mixed in a bowl

Open one can of crescent roll dough and unroll it. Gently press the dough into the bottom of the prepared foil tray, pinching together any seams to create an even bottom crust that covers the whole surface.

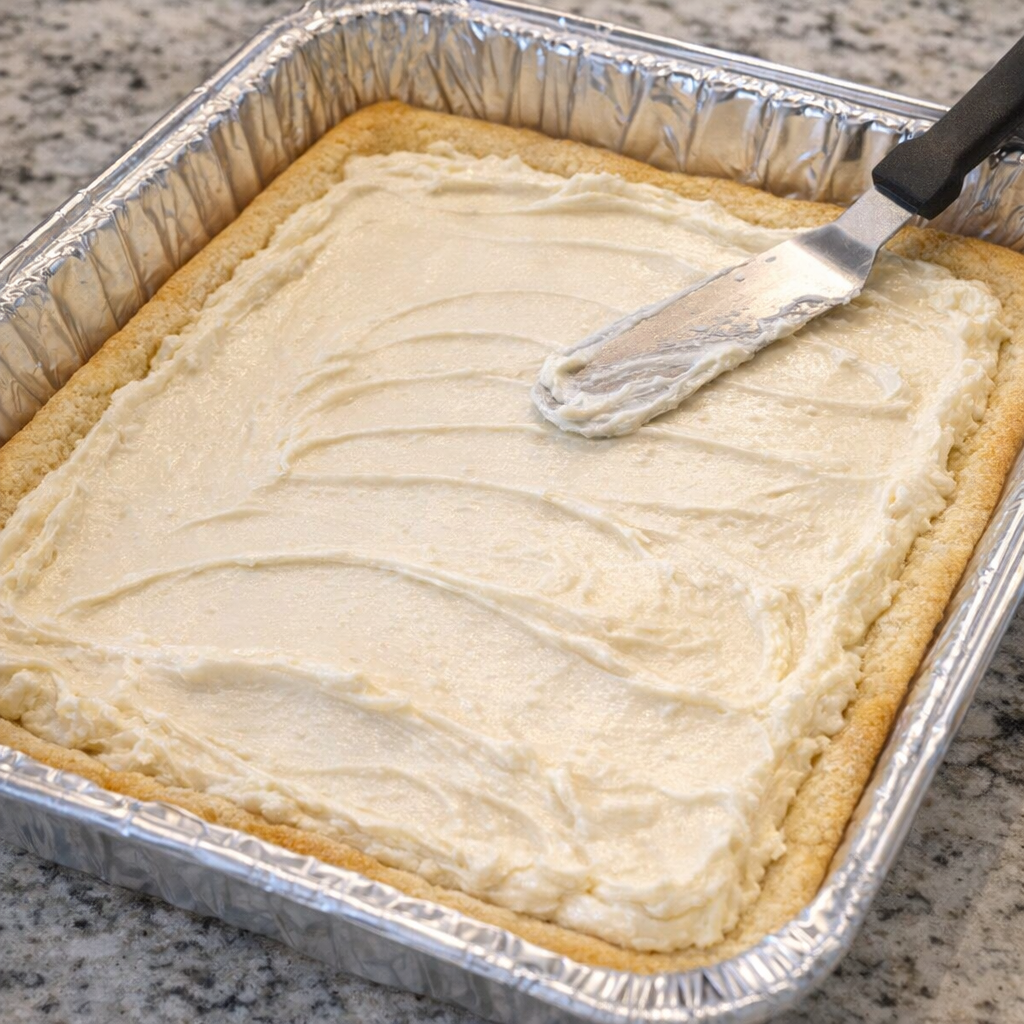
Spread the cream cheese mixture evenly over the crescent dough base, smoothing it all the way to the edges so every piece gets a creamy center. Take your time here so the layer is as even as possible.

Cream cheese filling spread over crescent dough in a foil pan

Open the second can of crescent roll dough and unroll it onto a piece of parchment or a clean counter. Lightly press the seams together to form a single sheet, then carefully lift and lay it over the cream cheese layer. Gently stretch and adjust so it covers the filling from edge to edge, tucking in any overhang.

Bake in the preheated oven for 23–28 minutes, or until the top crescent layer is puffed and a light golden brown. The center will still be soft but should not look wet or jiggly. Start checking around 22 minutes since ovens vary.

Golden cheesecake bars just baked in the oven

Remove the tray from the oven and let the bars cool on a wire rack for at least 30–45 minutes. For the cleanest slices, let them cool completely, then refrigerate for 1–2 hours before cutting into 16 squares or rectangles.

Serve the bars straight from the foil tray on your speckled kitchen counter or picnic table. Store any leftovers covered in the refrigerator for up to 4 days, and keep them chilled until serving for the best texture and food safety.

Variations & Tips

To keep this true to the 4-ingredient spirit, any tweaks should build on the base recipe rather than add a lot of extra work. For a slightly less sweet bar, you can reduce the sugar to 2/3 cup without affecting the texture. If you like a stronger vanilla flavor, bump the vanilla up to 3 teaspoons. For a subtle twist, you can use vanilla bean paste in place of extract for those pretty specks. If you’re feeding a crowd, double the recipe and bake it in two foil trays side by side—this is very much a “disappears before the first round is over” kind of dessert.

Cut cheesecake bars arranged for serving with berries

To make slicing easier for a potluck, chill the bars fully, then cut them into bite-size pieces so people can grab one with their fingers. Food safety tips: Always use cream cheese that has been kept refrigerated and is within its expiration date. Soften it at room temperature for about 30–45 minutes, but don’t leave it out for more than 2 hours total.

Once baked, cool the bars, then refrigerate if you’re not serving them right away. At outdoor cookouts, try to keep the tray in the shade and limit the time the bars sit at room temperature to 2 hours (or 1 hour if it’s a very hot day). Store leftovers covered in the fridge and discard any bars that have been left out too long. If reheating individual pieces, warm them briefly in the microwave (about 10–15 seconds) just until slightly soft, not hot, to keep the creamy center from breaking.

My mother-in-law demands

by


This 4-ingredient banana pudding dip is the exact treat my mother-in-law insists I bring to every family gathering because the bowl is magically empty before dinner even starts. It tastes like classic banana pudding but is so much easier—no baking, no fancy equipment, just a few pantry staples and ripe bananas. I started making this for casual Sunday dinners, and it quickly turned into our go-to party bowl for holidays, game nights, and church potlucks. It’s creamy, sweet, and familiar, with just enough crunch from the vanilla wafers to keep everyone dipping back in for more.

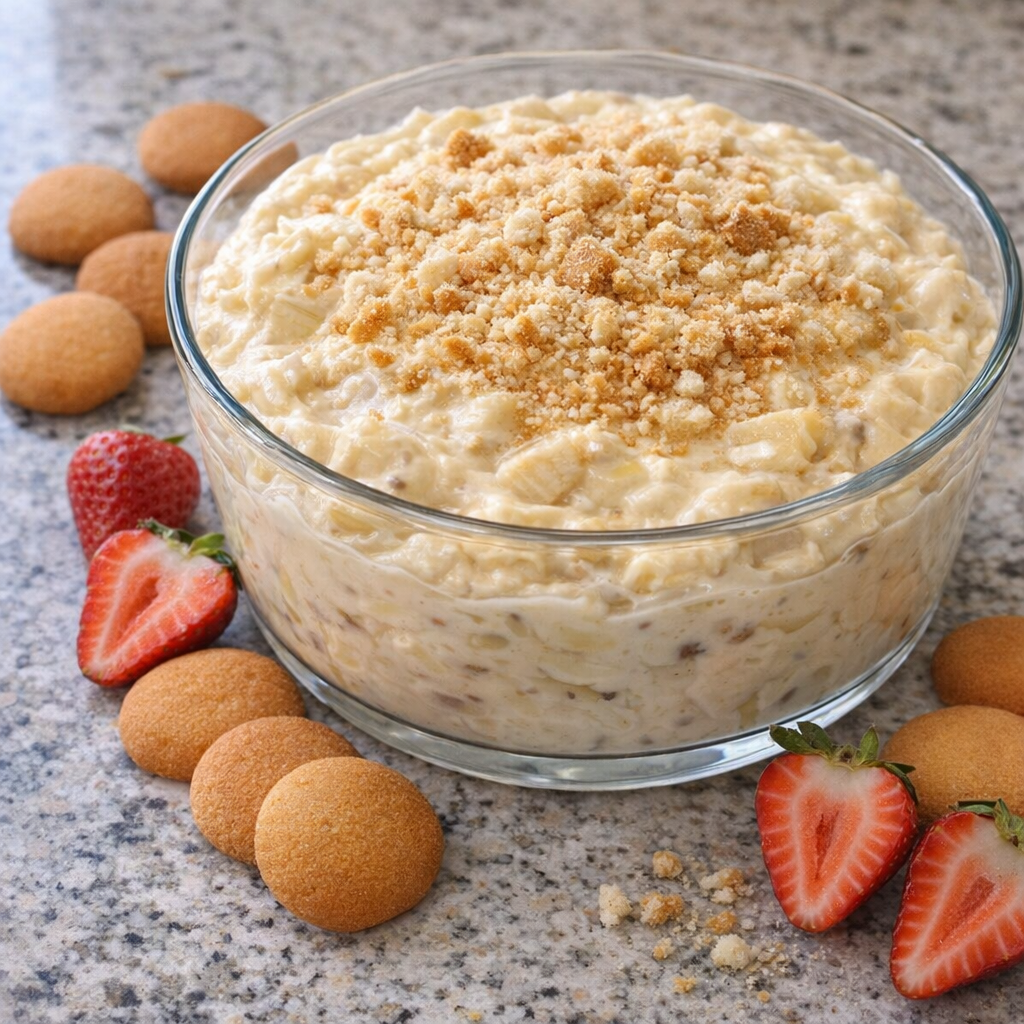
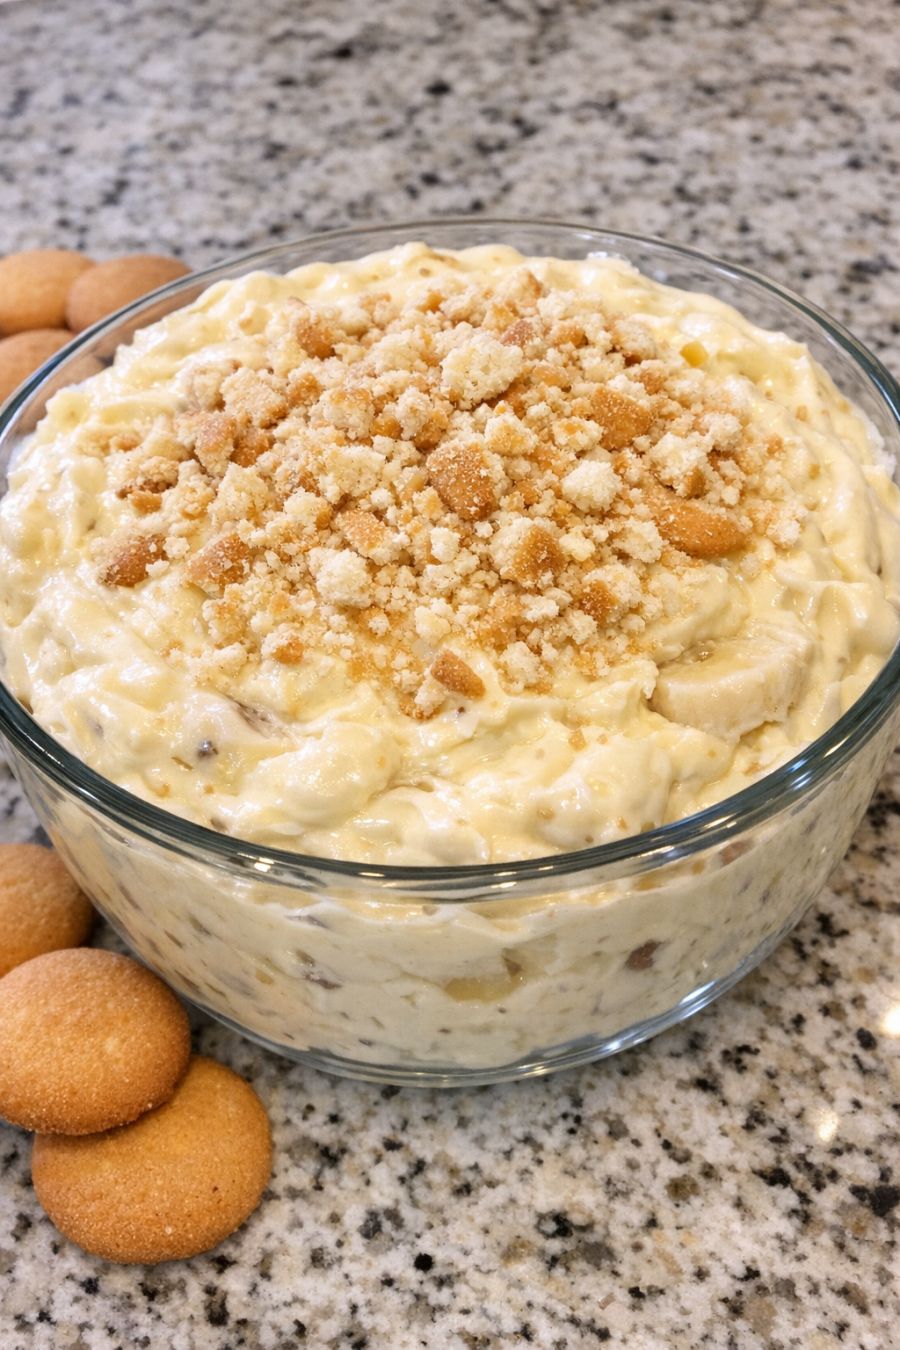
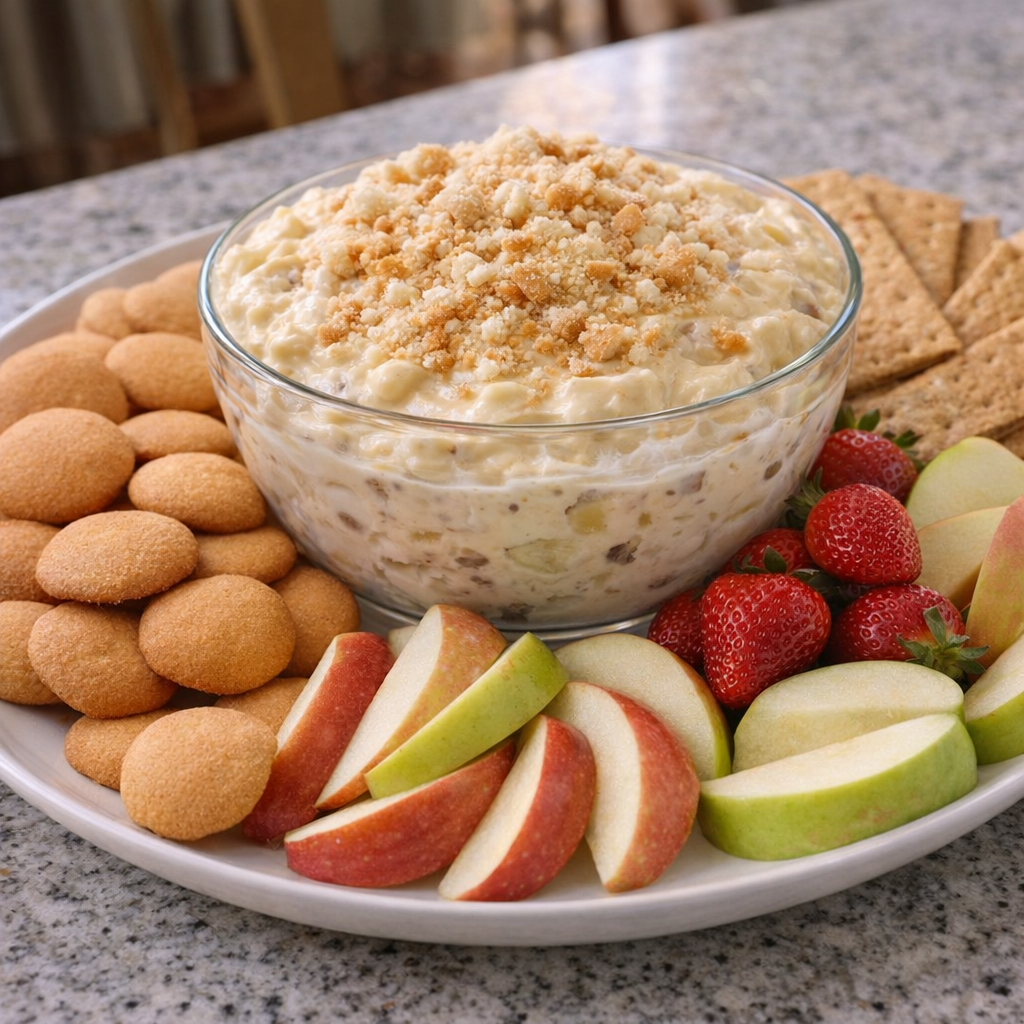
Banana pudding dip in a glass bowl on a family kitchen counter

Serve this banana pudding dip in a clear glass serving bowl so everyone can see the thick, glossy filling and the crushed vanilla wafer topping. Set it on your kitchen counter with extra vanilla wafers, graham crackers, or shortbread cookies for dipping. Sliced firm apples or strawberries work nicely if you want to offer a lighter option on the side.

It pairs well with coffee after dinner or with iced tea and lemonade before the meal. For gatherings, I like to place it in the center of a big platter and surround it with cookies and fruit so guests can help themselves as they wander through the kitchen.

4-Ingredient Banana Pudding Dip

Servings: 8-10

Ingredients

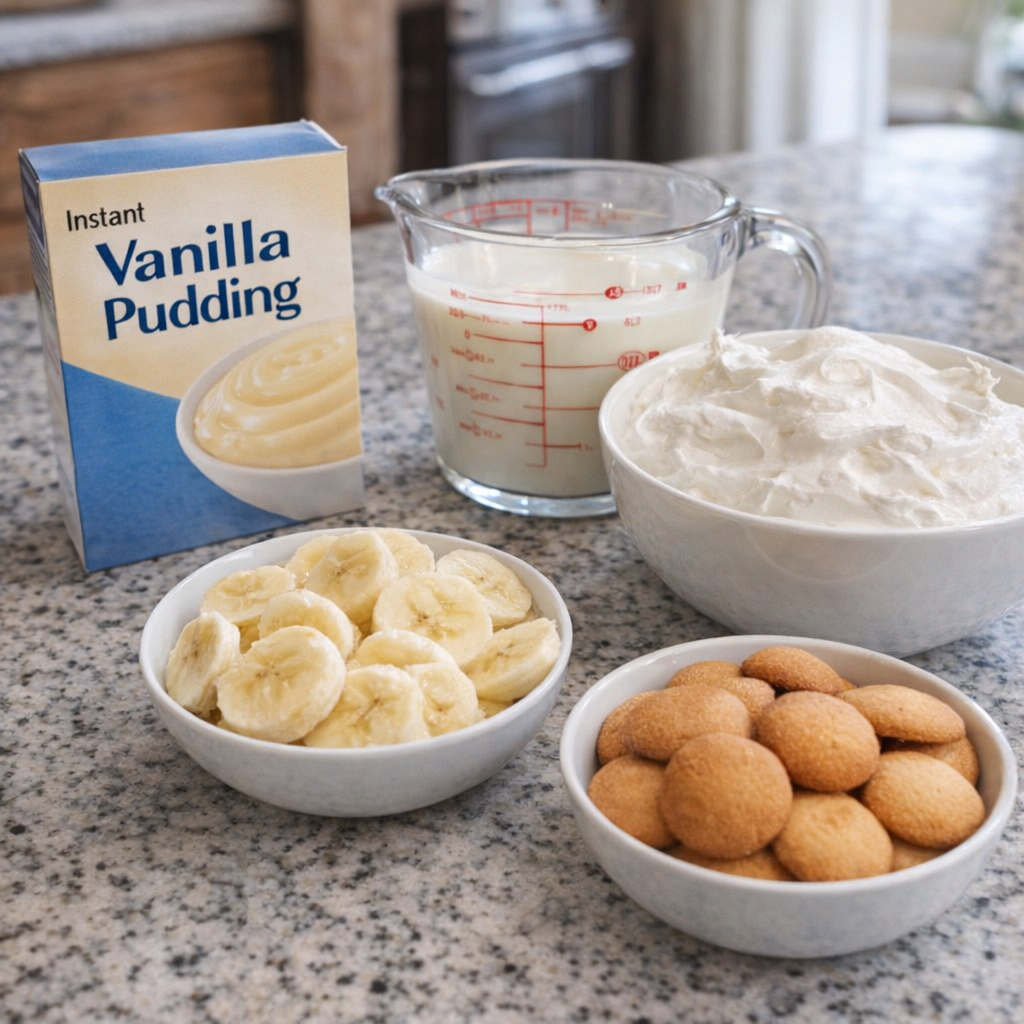
  • 1 (3.4 oz) box instant vanilla pudding mix
  • 1 3/4 cups cold milk
  • 1 (8 oz) tub frozen whipped topping, thawed
  • 3 medium ripe but firm bananas, sliced
  • 2 cups vanilla wafers, divided (about 1 1/2 cups whole for dipping, 1/2 cup crushed for topping)
Measured banana pudding dip ingredients arranged on a countertop

Directions

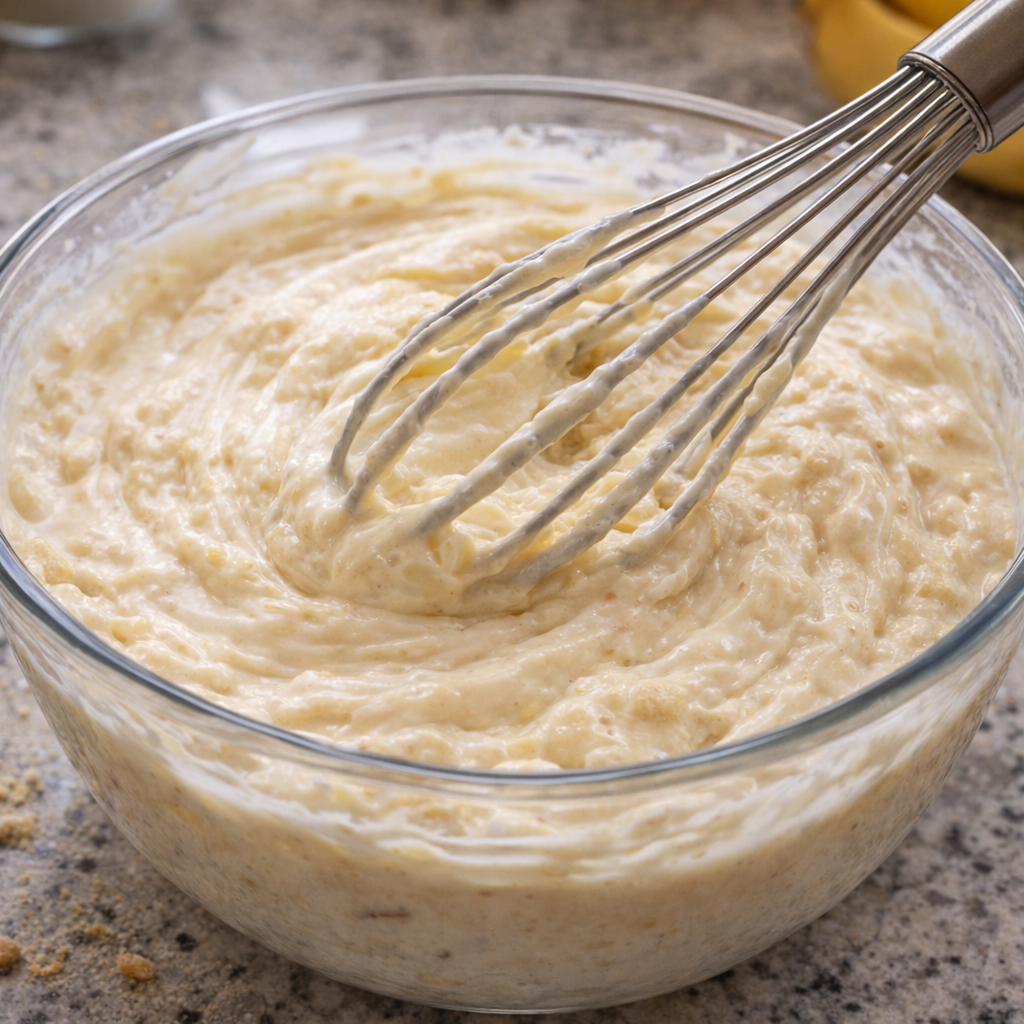
In a medium mixing bowl, whisk together the instant vanilla pudding mix and cold milk for 2 minutes, or until the pudding thickens and is smooth with no lumps.

Let the pudding sit for 3 to 5 minutes to finish thickening. It should be soft but able to hold its shape on a spoon.

Vanilla pudding being whisked in a mixing bowl

Gently fold in the thawed whipped topping with a spatula until the mixture is fully combined, creamy, and glossy. Take your time so you don’t deflate the whipped topping too much.

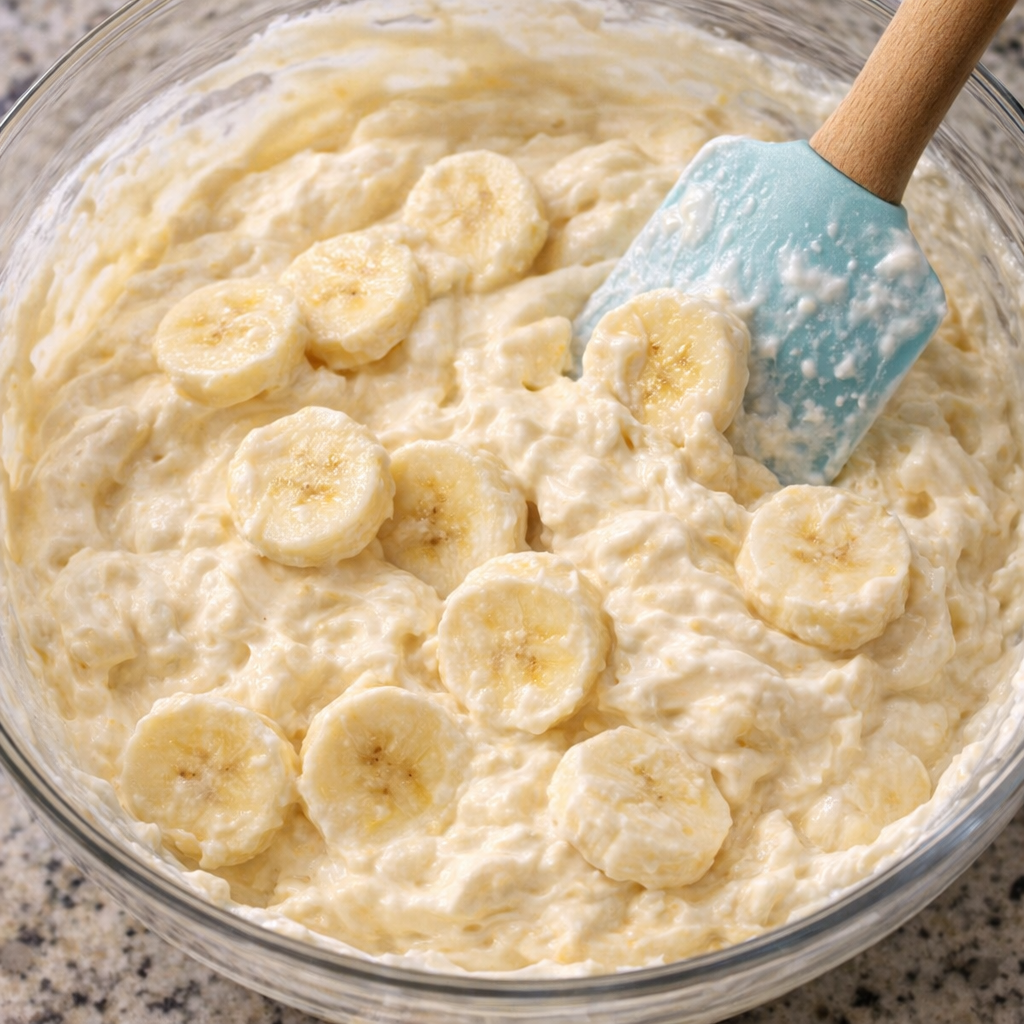
Fold in the sliced bananas, coating them evenly in the pudding mixture. This helps keep the bananas from browning too quickly and spreads them throughout the dip.

Transfer the banana pudding dip to a clear glass serving bowl, smoothing the top with the back of a spoon so it looks thick and even.

Banana slices folded into creamy pudding mixture

Place about 1/2 cup of vanilla wafers in a zip-top bag and crush them with a rolling pin or the bottom of a measuring cup until you have a mix of fine crumbs and small chunks.

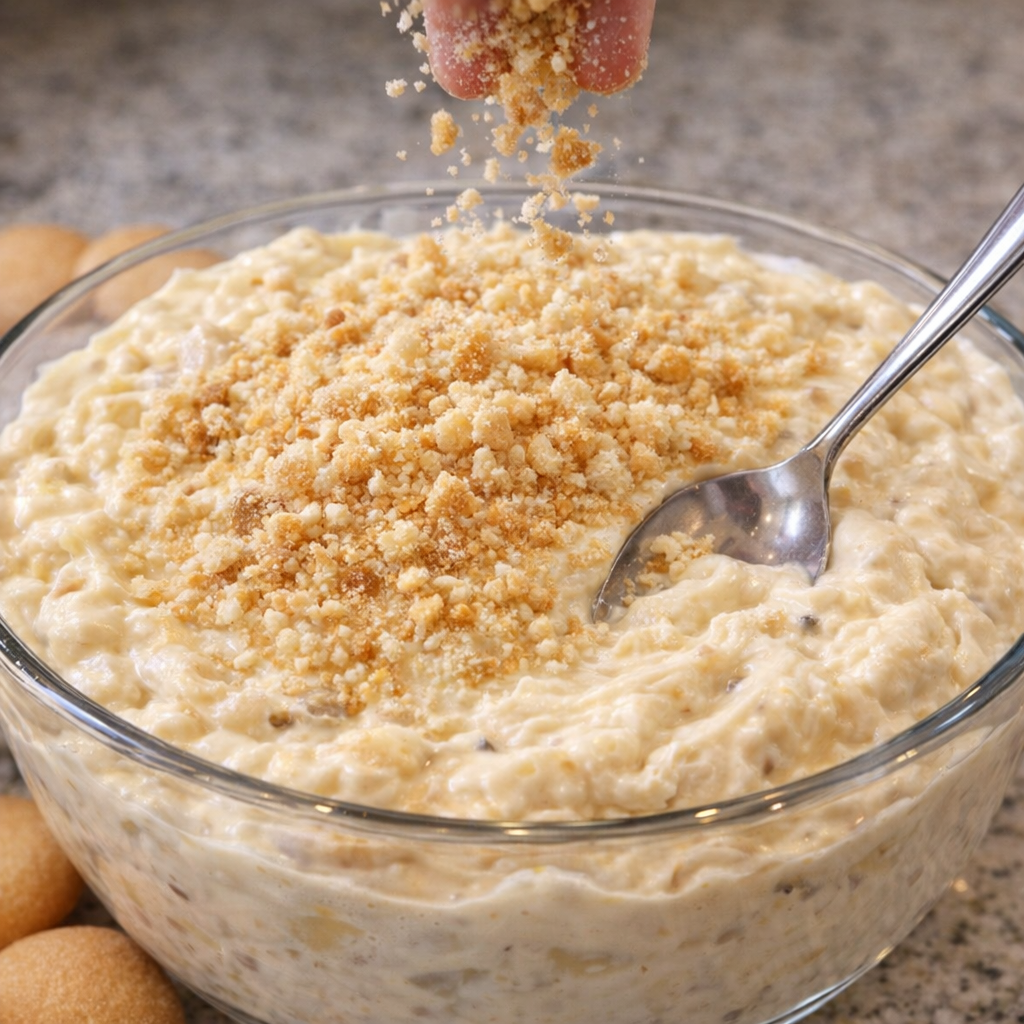
Sprinkle the crushed vanilla wafers evenly over the top of the dip so it’s fully covered with a crunchy cookie layer.

Refrigerate the dip for at least 30 minutes before serving to let it chill and set. This also gives the flavors time to come together.

Crushed vanilla wafers sprinkled over banana pudding dip

Just before serving, place the remaining whole vanilla wafers around the bowl or in a separate dish for dipping. Keep the dip on a cool counter or return it to the fridge between rounds of snacking if your kitchen is warm.

Variations & Tips

For picky eaters, you can chop the bananas into very small pieces or mash one of the bananas into the pudding mixture so the flavor is there without big chunks. If your family loves extra crunch, stir in a small handful of roughly chopped vanilla wafers right before serving, in addition to the crushed topping. For a slightly lighter version, use sugar-free instant vanilla pudding and a light whipped topping; just be aware the texture may be a bit softer.

Banana pudding dip served with cookies and fruit for dipping

If you prefer a stronger vanilla flavor, add 1 teaspoon of vanilla extract when you whisk the pudding and milk. For a fun twist, layer the dip in a trifle dish with extra banana slices and whole vanilla wafers for a more dessert-like presentation while still serving it as a dip.

Food safety tips: Always start with cold milk so the pudding sets properly. Keep the dip refrigerated until serving, and try not to leave it out at room temperature for more than 2 hours (or 1 hour if it’s very warm) because of the dairy and fresh bananas.

If you’re making this ahead, prepare the pudding and whipped topping mixture up to 12 hours in advance, but wait to fold in the bananas and add the crushed cookie topping until 1 to 2 hours before serving to keep the bananas from browning and the cookies from getting too soft. Discard any leftovers that have sat out too long, and store the rest tightly covered in the refrigerator for up to 2 days, knowing the bananas will soften over time.

My grandma swore by these

by


These southern 3-ingredient mayonnaise biscuits are the kind of recipe you raise an eyebrow at—until you bake a batch. My grandmother swore they were foolproof, and I didn’t fully believe her until I tried them myself. Classic Southern home cooks have been using mayonnaise as a shortcut for years; it stands in for both fat and a bit of liquid, giving you tall, tender biscuits with almost no effort.

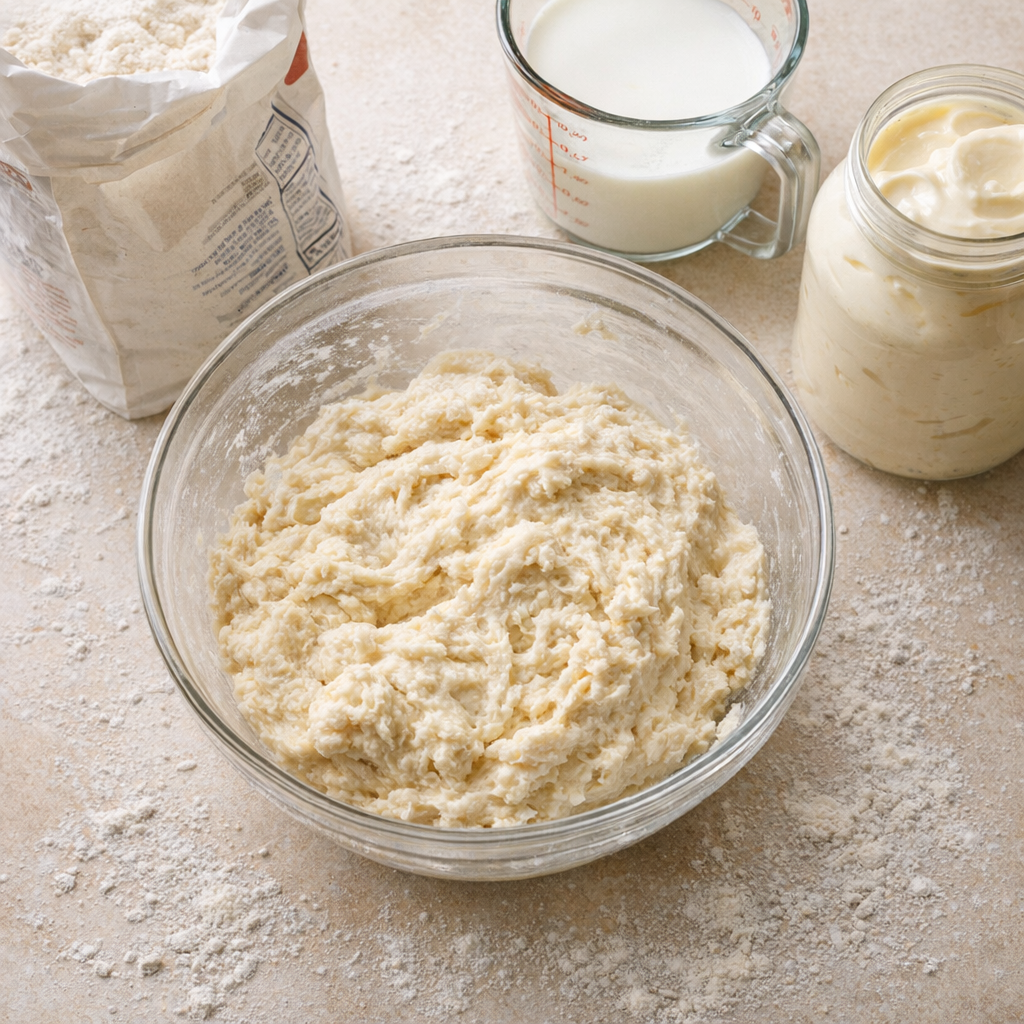
Bowl of biscuit dough beside pantry staples

If you’re looking for a reliable, weeknight-friendly biscuit that doesn’t require cutting in butter or chilling dough, this is it.

Serve these biscuits warm, straight from the cast iron skillet, with softened butter, honey, or your favorite jam. They’re excellent alongside fried chicken, pot roast, or a simple bowl of soup or chili.

Warm biscuits in cast iron skillet on a table

In the morning, split them and stuff with scrambled eggs and cheese for a quick breakfast sandwich. They also make a great base for sausage gravy or a small ham-and-biscuit slider for parties or game days.

Southern 3-Ingredient Mayonnaise Biscuits

Servings: 8


Ingredients

1 1/2 cups self-rising flour

3/4 cup whole milk
1/2 cup full-fat mayonnaise

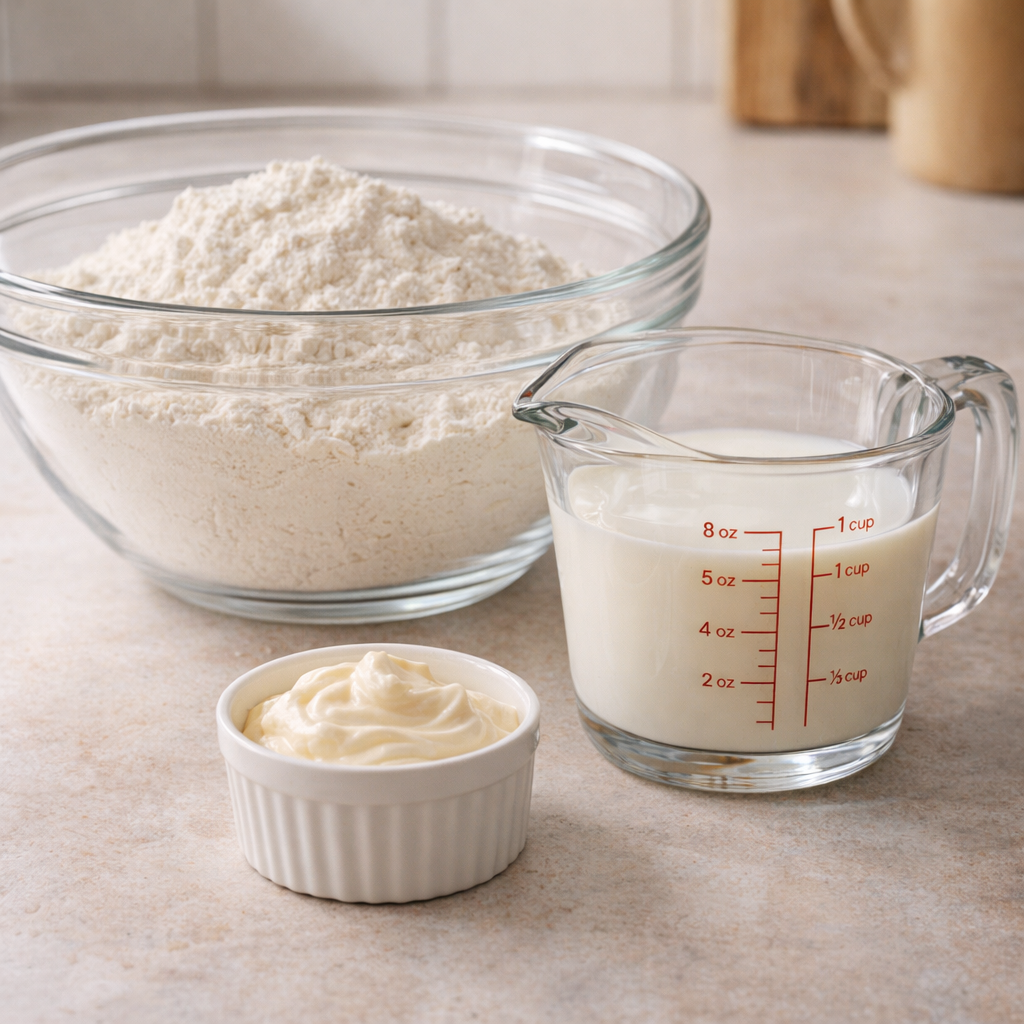
Measured biscuit ingredients arranged on a countertop

Directions

Preheat your oven to 425°F (220°C). Place a 9- or 10-inch cast iron skillet on the middle rack while the oven heats so the pan gets hot.

In a medium mixing bowl, add the self-rising flour. Use a spoon or whisk to fluff and break up any lumps.

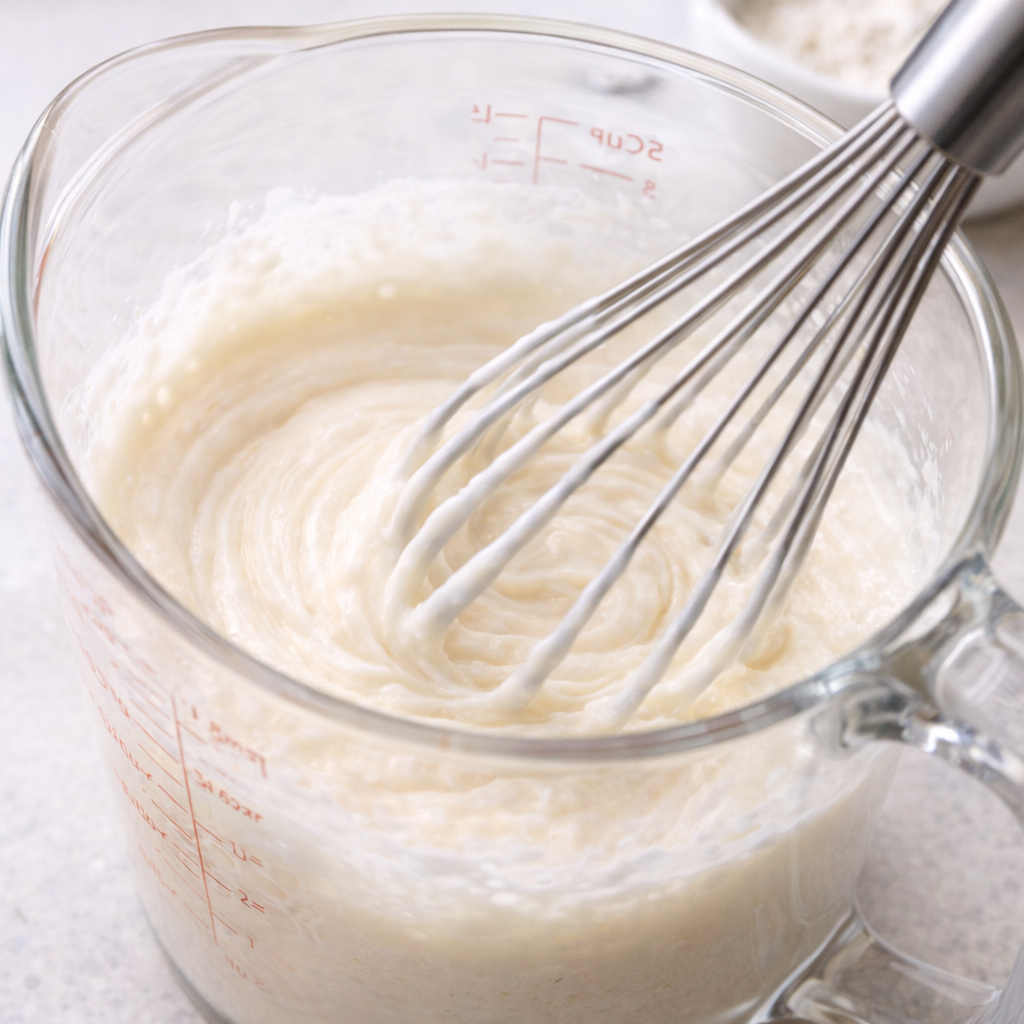
In a separate small bowl or measuring cup, whisk together the whole milk and full-fat mayonnaise until the mixture is smooth and no streaks of mayo remain.

Milk and mayonnaise being whisked together

Pour the milk–mayonnaise mixture into the flour. Gently stir with a spatula or wooden spoon just until the flour is moistened and a thick, sticky dough forms. Do not overmix; a few small lumps are fine.

Carefully remove the hot cast iron skillet from the oven and lightly grease it by brushing or rubbing a thin layer of oil or a small amount of mayonnaise over the bottom and sides. Be cautious—both the pan and oil will be very hot.

Using a large spoon or a lightly greased 1/4-cup measure, scoop portions of dough into the hot skillet, spacing them so they touch slightly for soft-sided biscuits. You should get about 8 biscuits, depending on the size of your skillet and scoops.

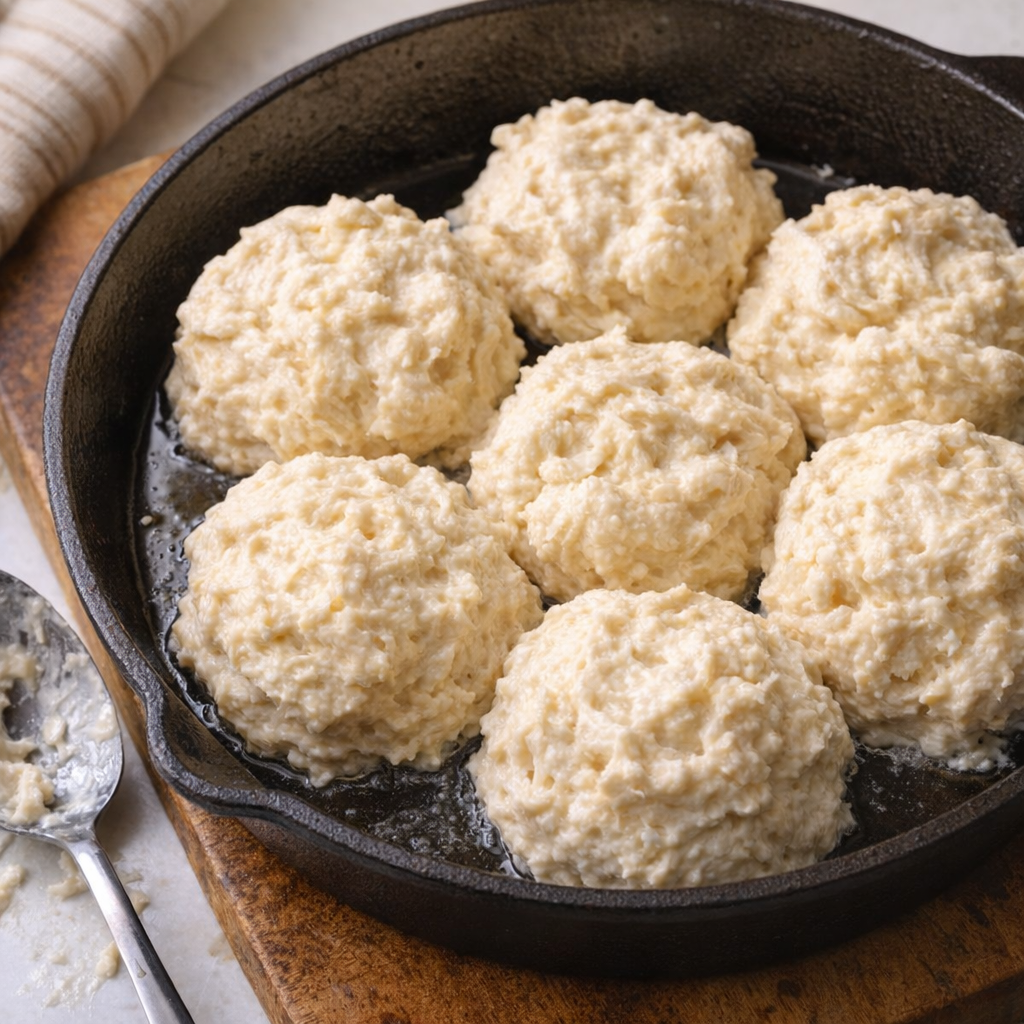
Biscuit dough scooped into a hot cast iron skillet

Place the skillet back in the oven and bake for 14–18 minutes, or until the biscuits are tall with golden tops and lightly browned edges. The sides should show soft, layered interiors when you peek between two biscuits.

Remove the skillet from the oven and let the biscuits cool for 3–5 minutes before serving. If you like, you can brush the hot tops lightly with a bit of milk or a tiny amount of mayonnaise for a soft, glossy finish.

Variations & Tips

For a slightly richer flavor, you can swap the whole milk for buttermilk in equal measure; the acidity will add a gentle tang and help the biscuits rise even more, though the dough may be a touch thicker.

Split biscuit with fluffy interior and butter

If you don’t have self-rising flour, you can make a quick substitute: for every 1 cup of all-purpose flour, whisk in 1 1/2 teaspoons baking powder and 1/4 teaspoon fine salt; then measure out the 1 1/2 cups needed.

To add a subtle cheesy note while still keeping the ingredient list short, serve the hot biscuits with a sprinkle of shredded cheddar on top rather than mixing it into the dough. For slightly crisper bottoms, add an extra teaspoon of oil to the hot skillet before dropping in the dough.

Food safety notes: Use only full-fat, commercial mayonnaise, which is pasteurized and safe to bake with; avoid homemade mayo unless you’re certain it’s made with pasteurized eggs. Keep the milk refrigerated until you’re ready to mix, and don’t let the batter sit out for long before baking—mix and bake promptly for best rise and texture.

Always handle the preheated cast iron skillet with thick oven mitts and keep handles turned away from the edge of the stove or counter to prevent burns.

Top Ad 728x90