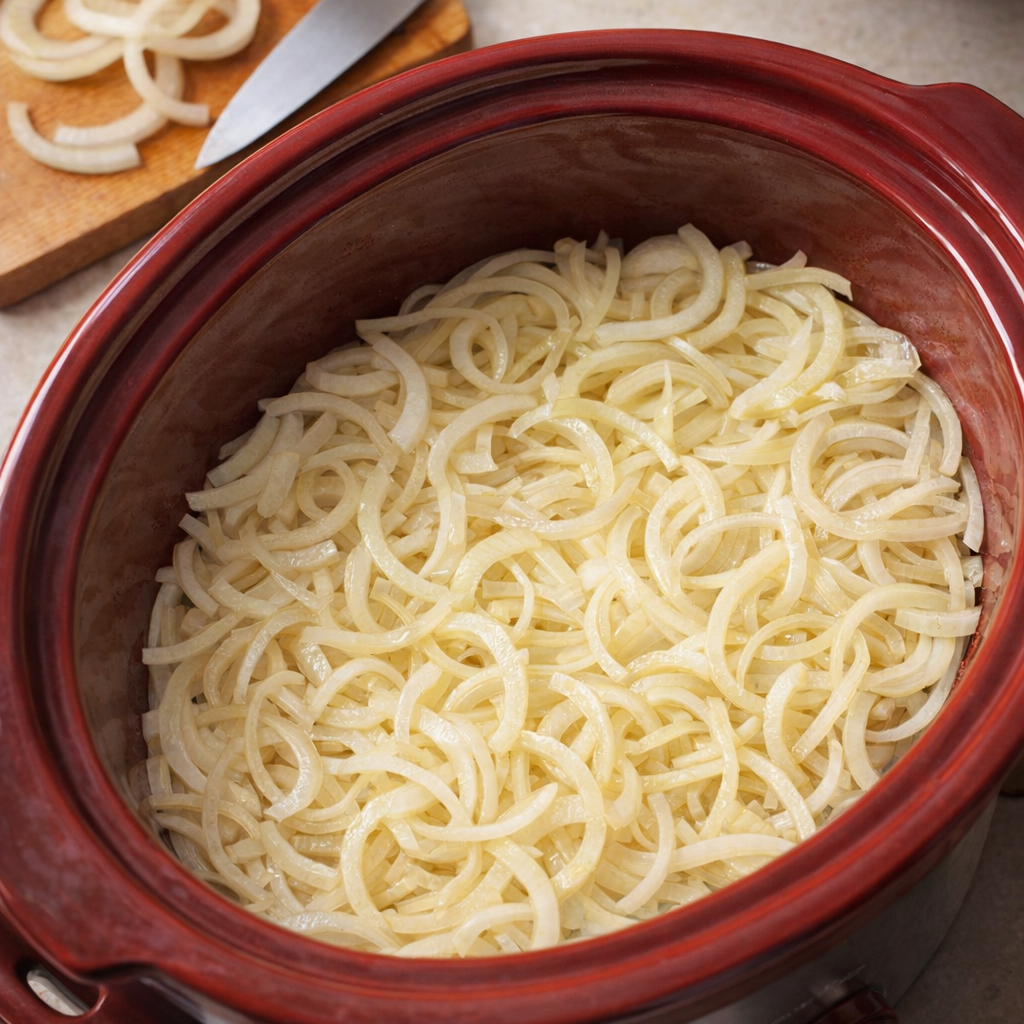
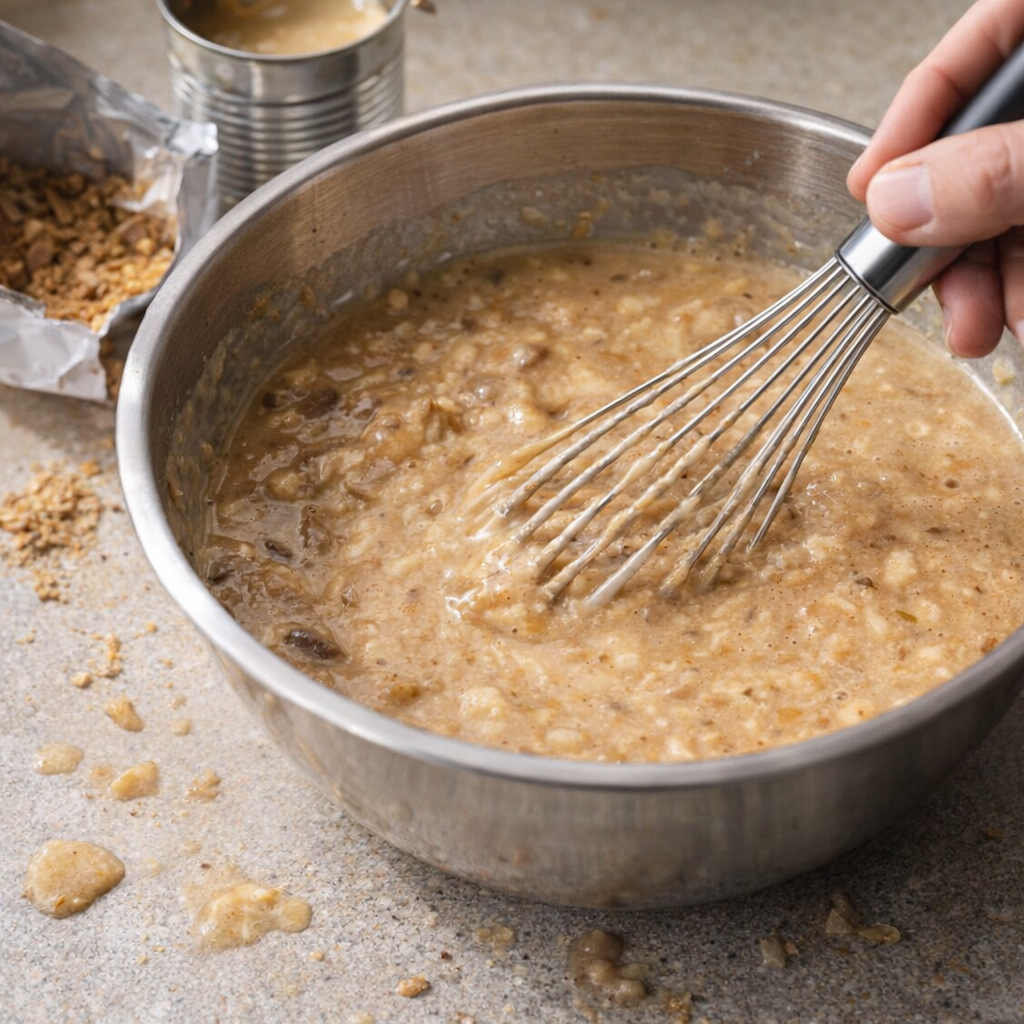
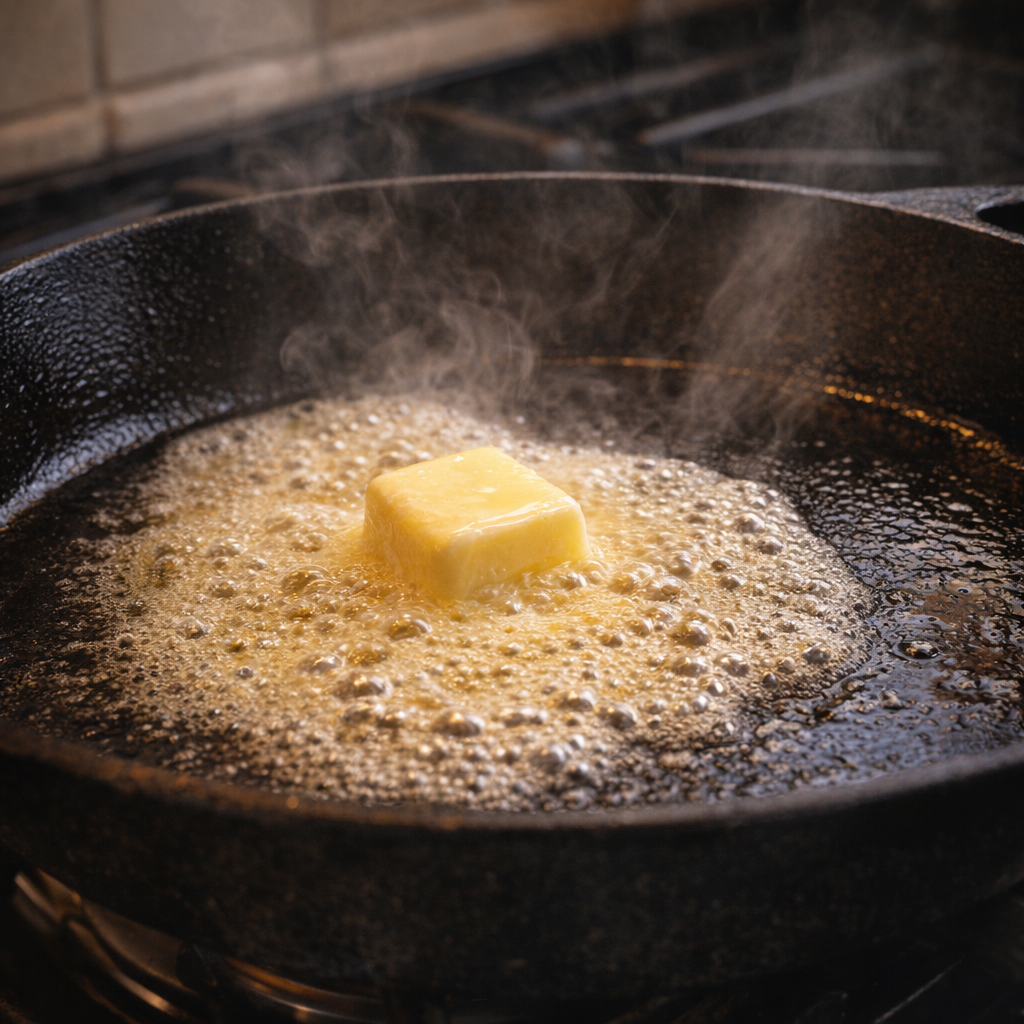
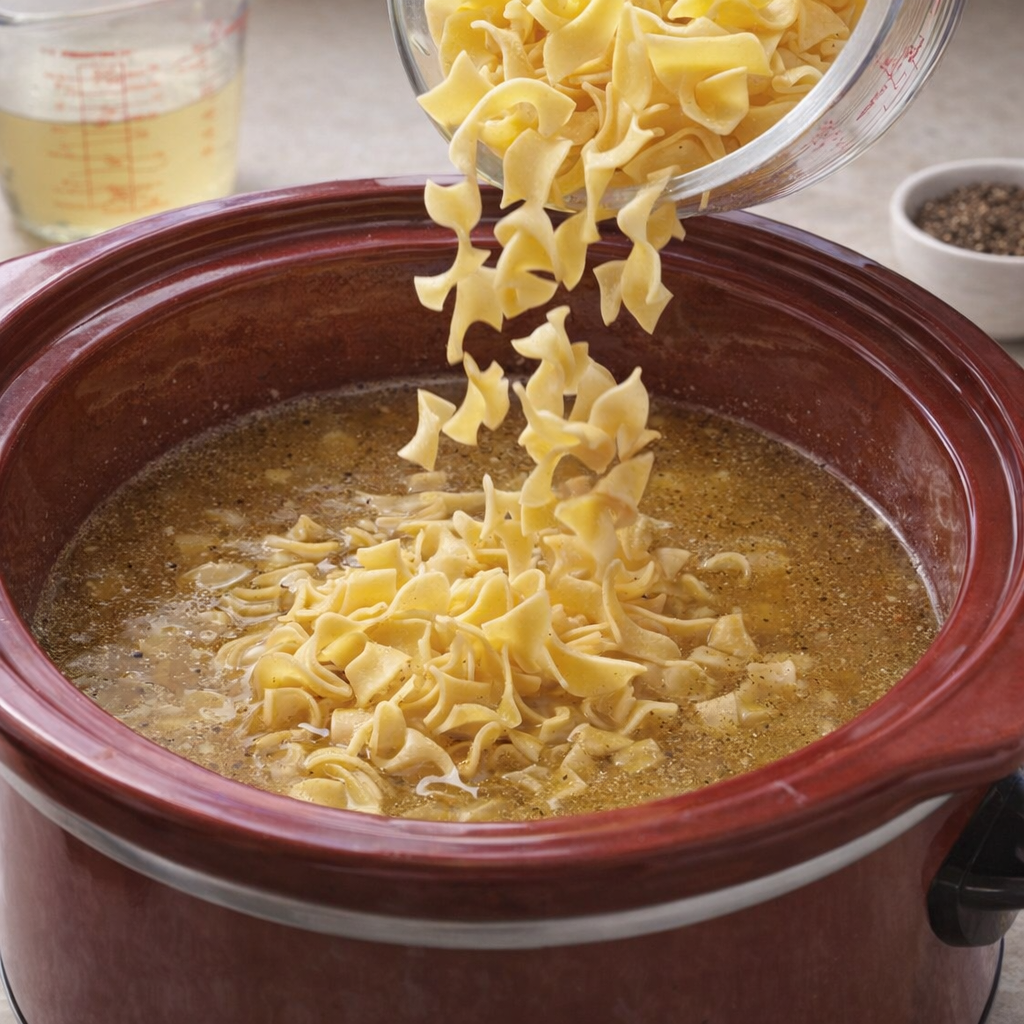
This slow cooker 4-ingredient Amish sour cream noodle dish is the kind of recipe neighbors pass over the fence and families quietly turn into a weekly ritual. It’s based on simple Midwestern pantry staples and the Amish-style love of uncomplicated, comforting food: thick egg noodles, real butter, tangy sour cream, and a bit of broth to bring it all together.
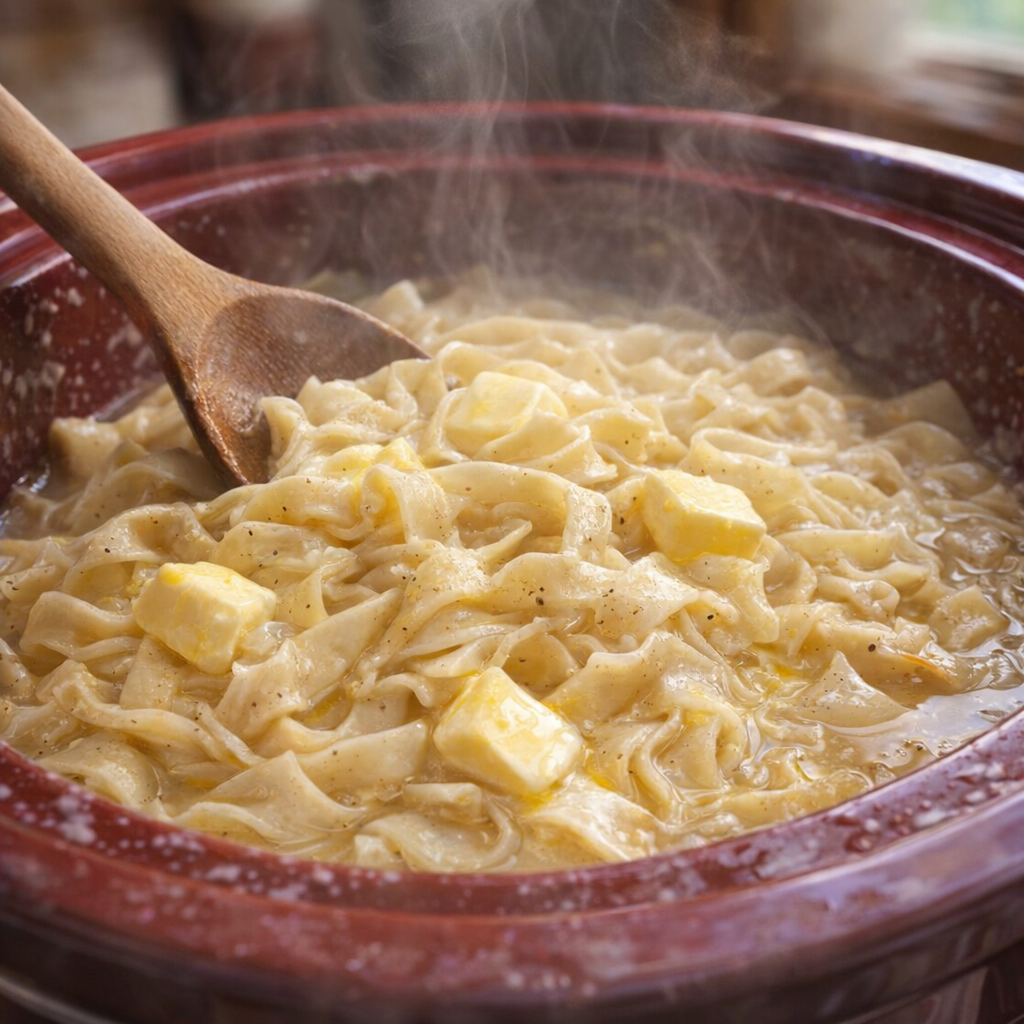
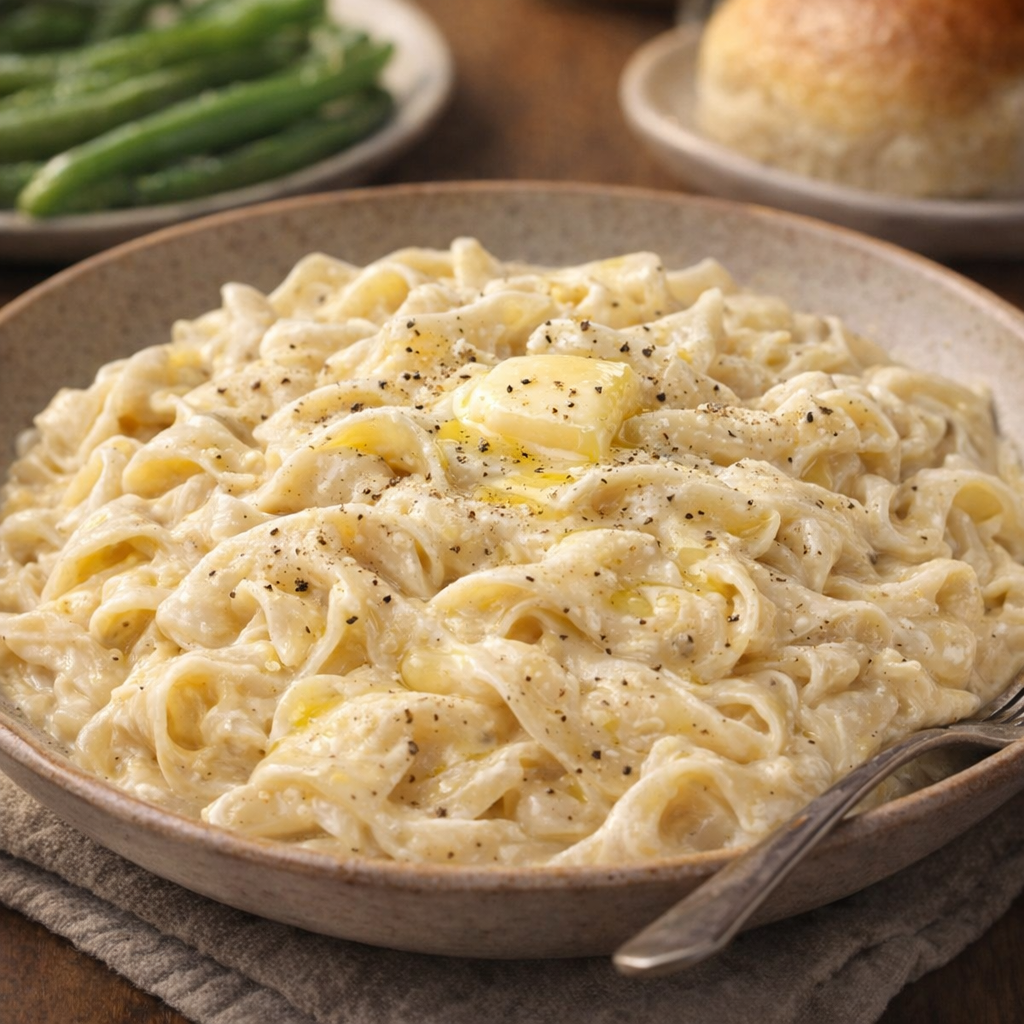
The result is a silky, ultra-creamy tangle of noodles that practically melts on your tongue, with buttery golden swirls and just enough pepper to keep it from feeling one-note. It’s the sort of recipe you make once on a busy weeknight and then find yourself pulling out the slow cooker for again and again.

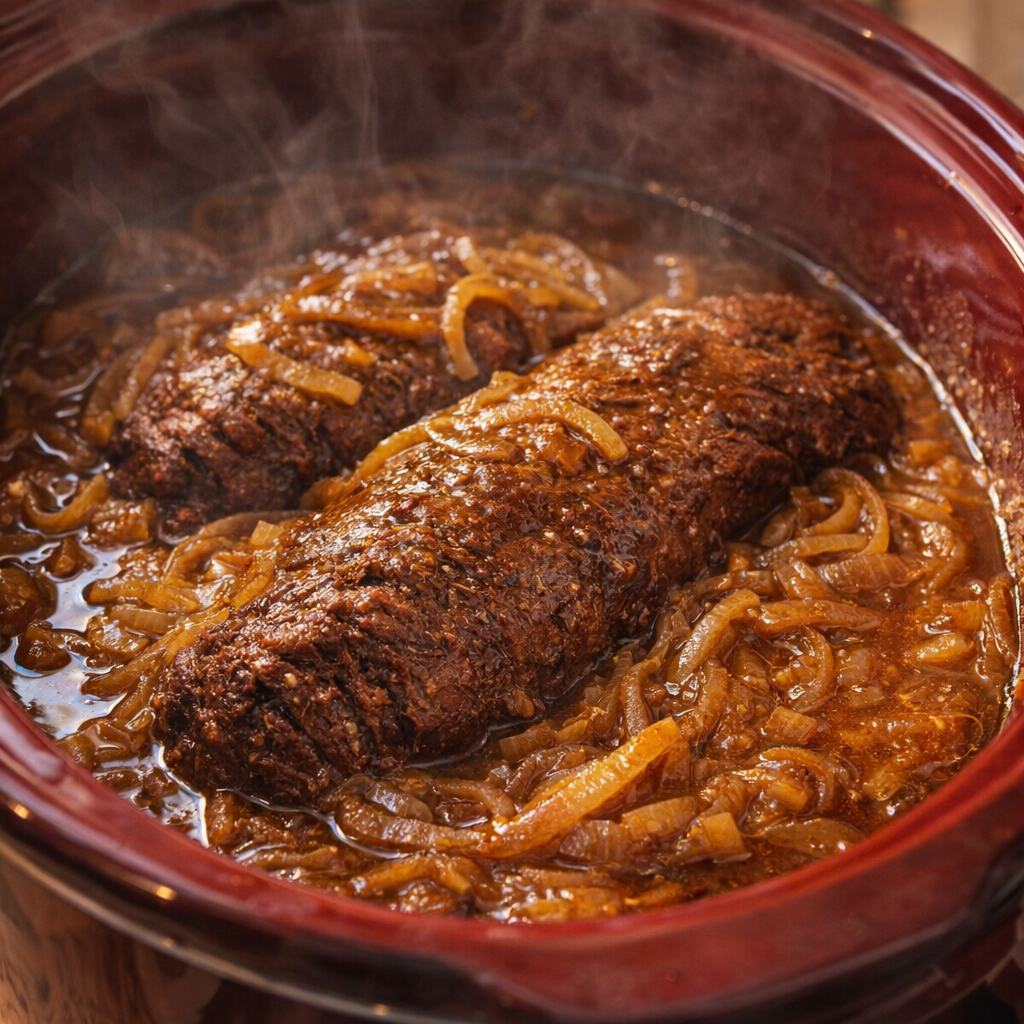
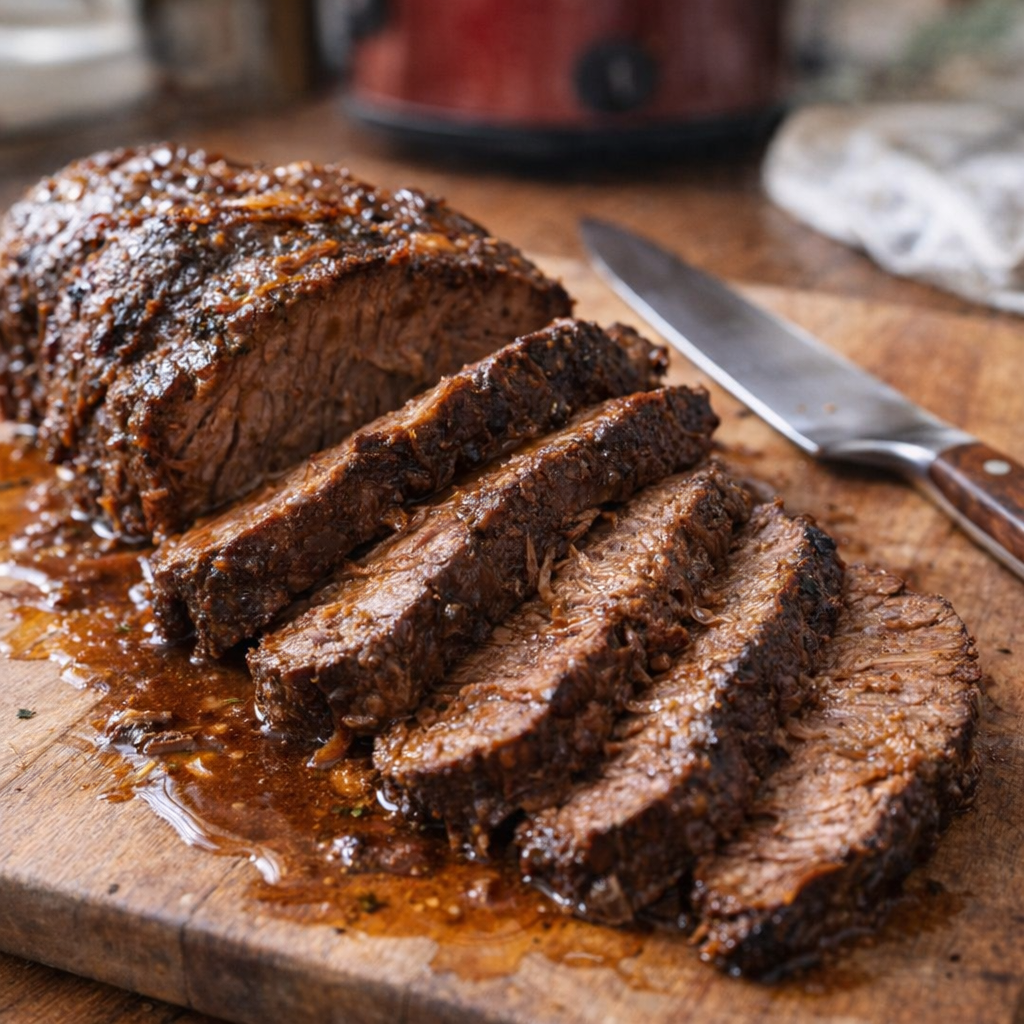
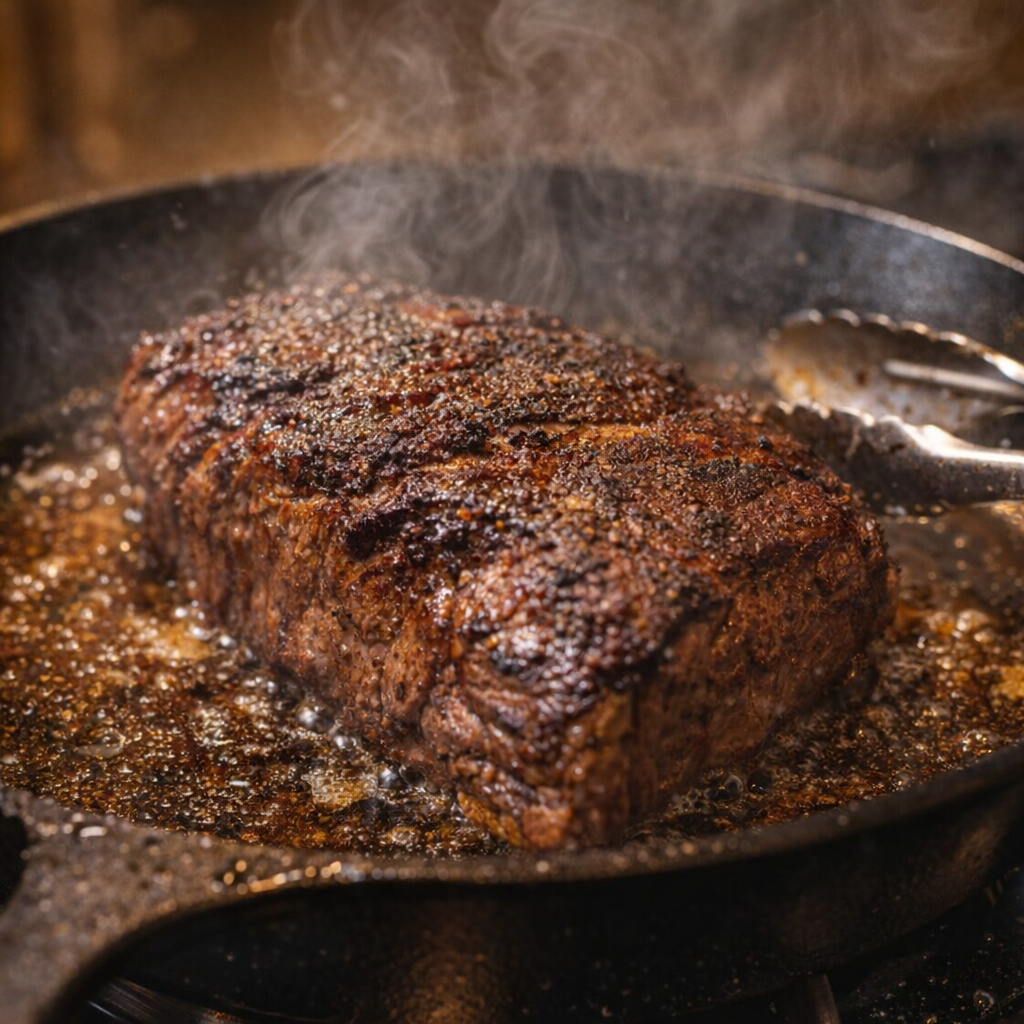
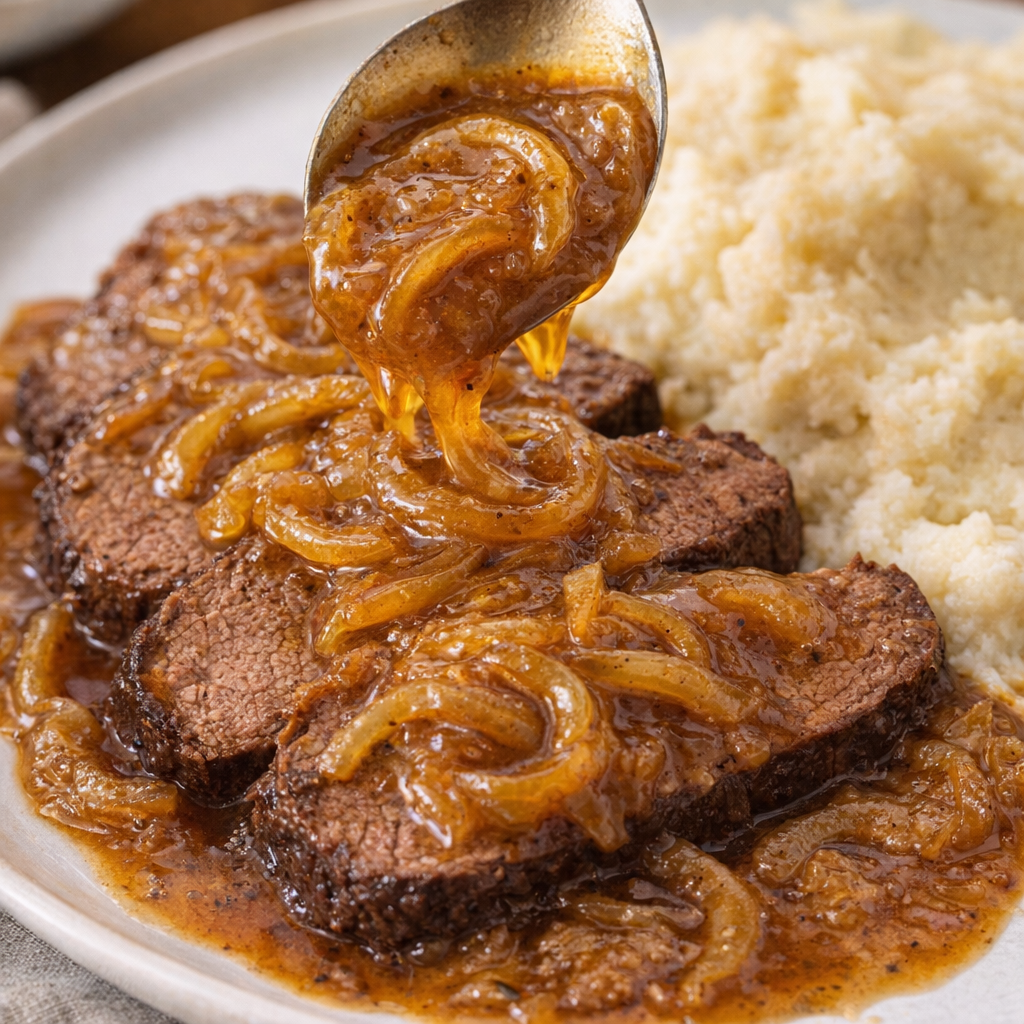
Serve these creamy sour cream noodles as a main dish with a crisp green salad or steamed broccoli to balance the richness. They also pair beautifully with simple roasted or grilled chicken, pork chops, or a pan of meatloaf for a classic Midwestern-style supper.
A side of buttered peas or green beans and some crusty bread or dinner rolls to swipe through the extra sauce turns this into a complete, cozy meal.
Slow Cooker Amish Sour Cream Noodles
Servings: 6

For a slightly lighter version, you can substitute half of the sour cream with plain full-fat Greek yogurt; add it off the heat and fold gently to prevent curdling. If you prefer a looser, more spoonable sauce, stir in an extra 1/2 to 1 cup of warm chicken broth when you add the sour cream.
For a vegetarian take, use vegetable broth instead of chicken broth and be sure your noodles are egg-free if needed, though traditional Amish-style noodles are egg-based. To turn this into a heartier main dish, fold in 1 1/2 to 2 cups of cooked, shredded chicken, diced ham, or browned ground beef when you add the sour cream, letting it warm through on LOW.
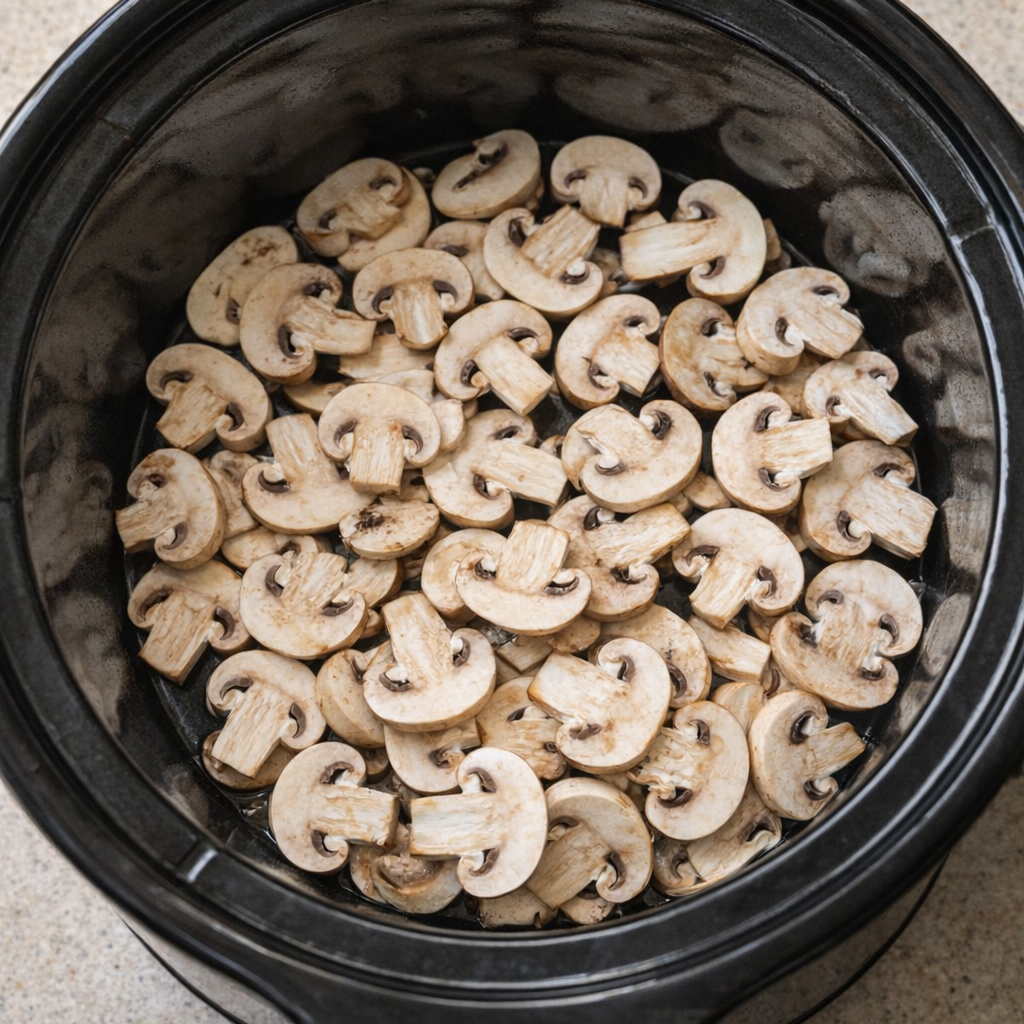
Freshly grated Parmesan, a pinch of garlic powder, or a spoonful of Dijon mustard can add subtle depth without losing the simple, old-fashioned character of the dish.
Food safety tips: Keep the sour cream refrigerated until you’re ready to stir it into the hot noodles, and do not leave the finished dish at room temperature for more than 2 hours, or 1 hour if your kitchen is very warm. If you add cooked meats, ensure they are fully cooked before they go into the slow cooker at the end, and reheat leftovers to at least 165°F.
Store leftovers in a shallow, covered container in the refrigerator for up to 3 days; reheat gently over low heat on the stovetop or in the microwave with a splash of broth or milk to loosen the sauce and prevent the noodles from drying out.